Getting Started with Excel 365 Online
Excel 365 Online is the cloud-based version of Microsoft’s spreadsheet program. It offers many tools for managing numerical data, as well as the ability to add charts, shapes, and much more. Best of all, Excel 365 Online’s interface is intuitive (particularly if you have used the desktop version), so the features you need will be easily accessible.
Topic Objectives
In this section, you will learn how to:
- Log into Office 365 and start Excel Online
- Identify the components of the Excel Online interface
- Create a new workbook
- Close Excel Online
Logging into Office 365
Your first step before using Excel Online is to log into Office 365 with your Microsoft account. To start, open your Internet browser and navigate to the login page at https://login.microsoftonline.com:
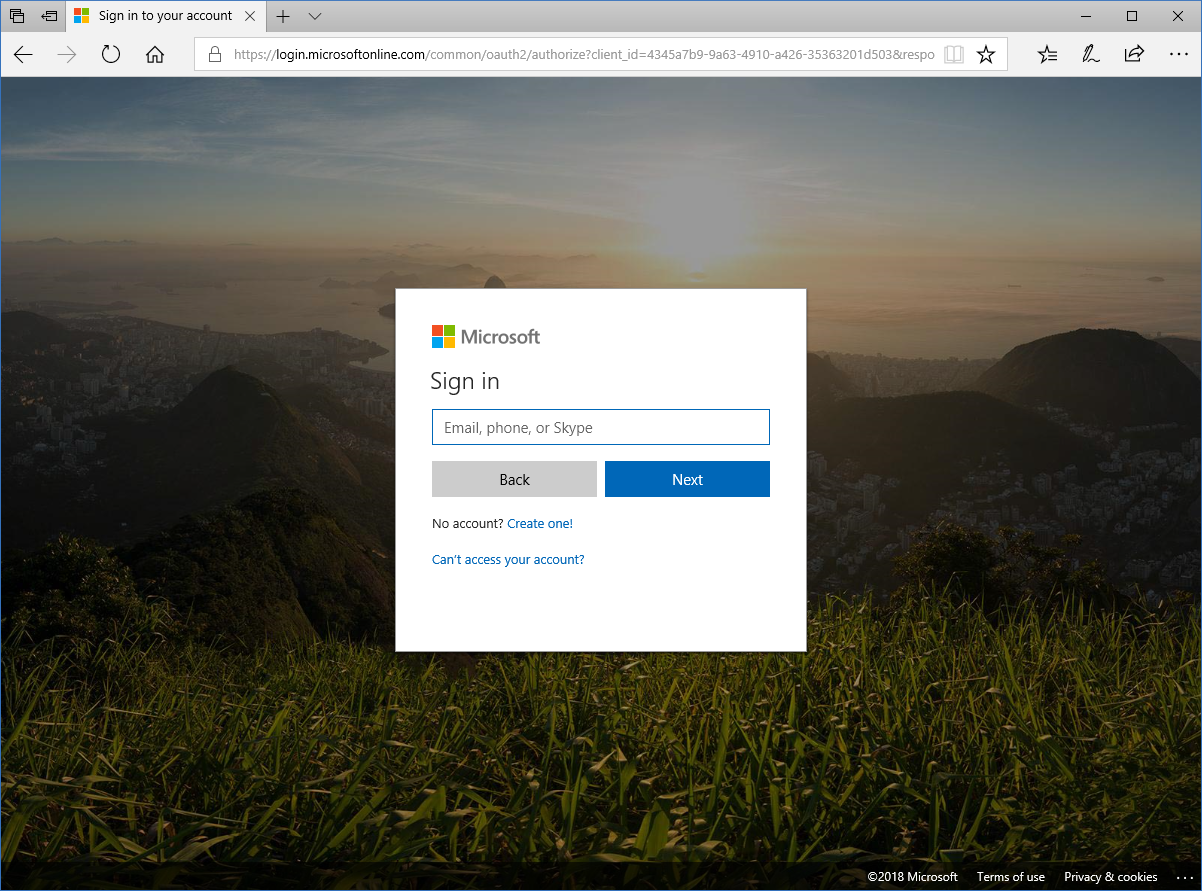
Instructor Tip: If you do not have a Microsoft account, you can create one from this page.
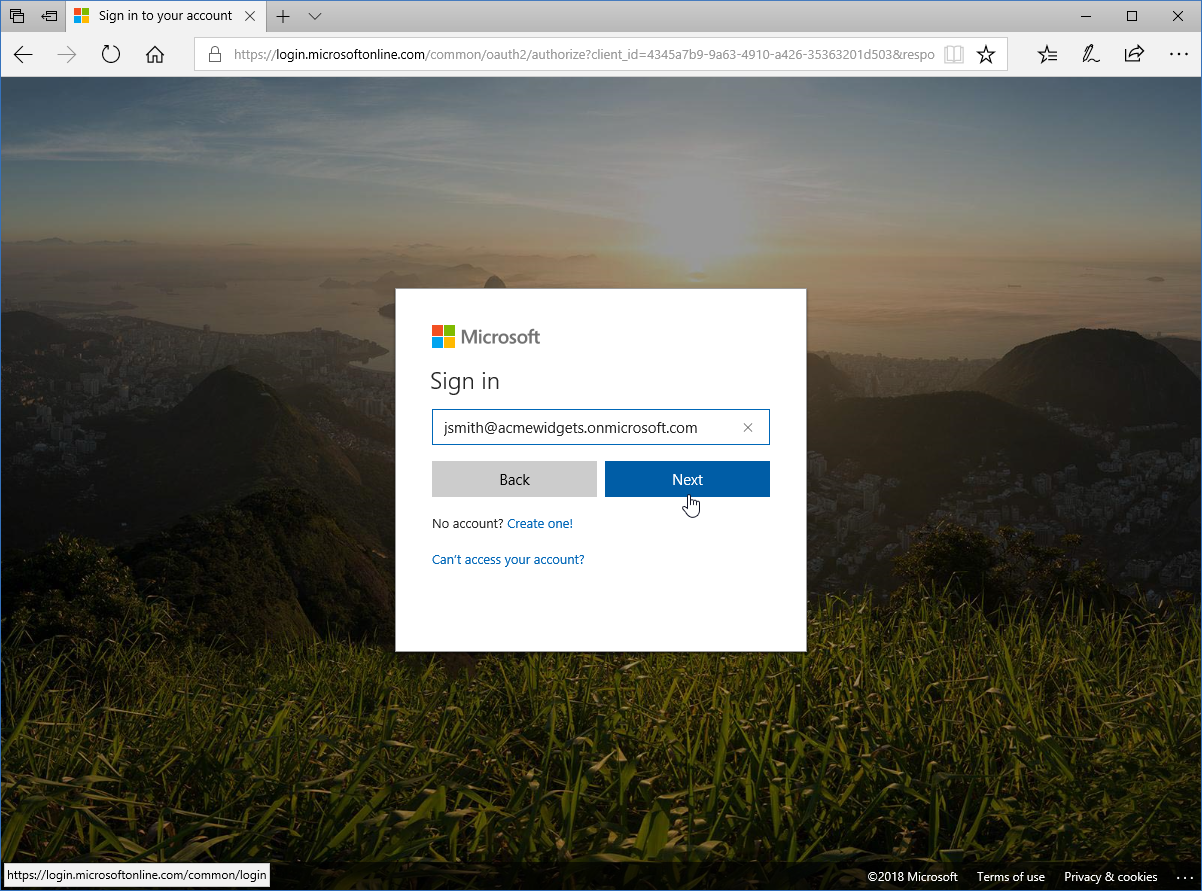
Then, enter your Microsoft account name and click “Next:”
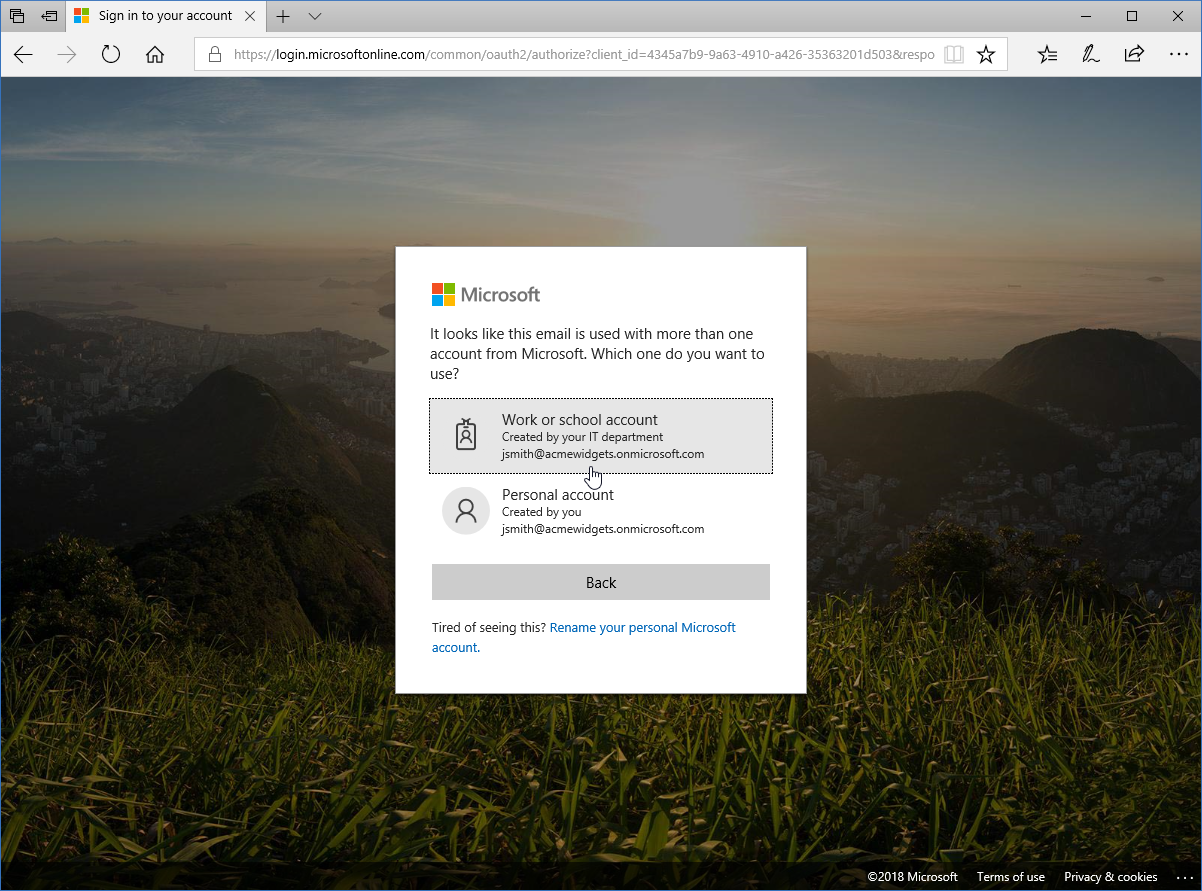
If prompted, choose the sub-account to sign in with:
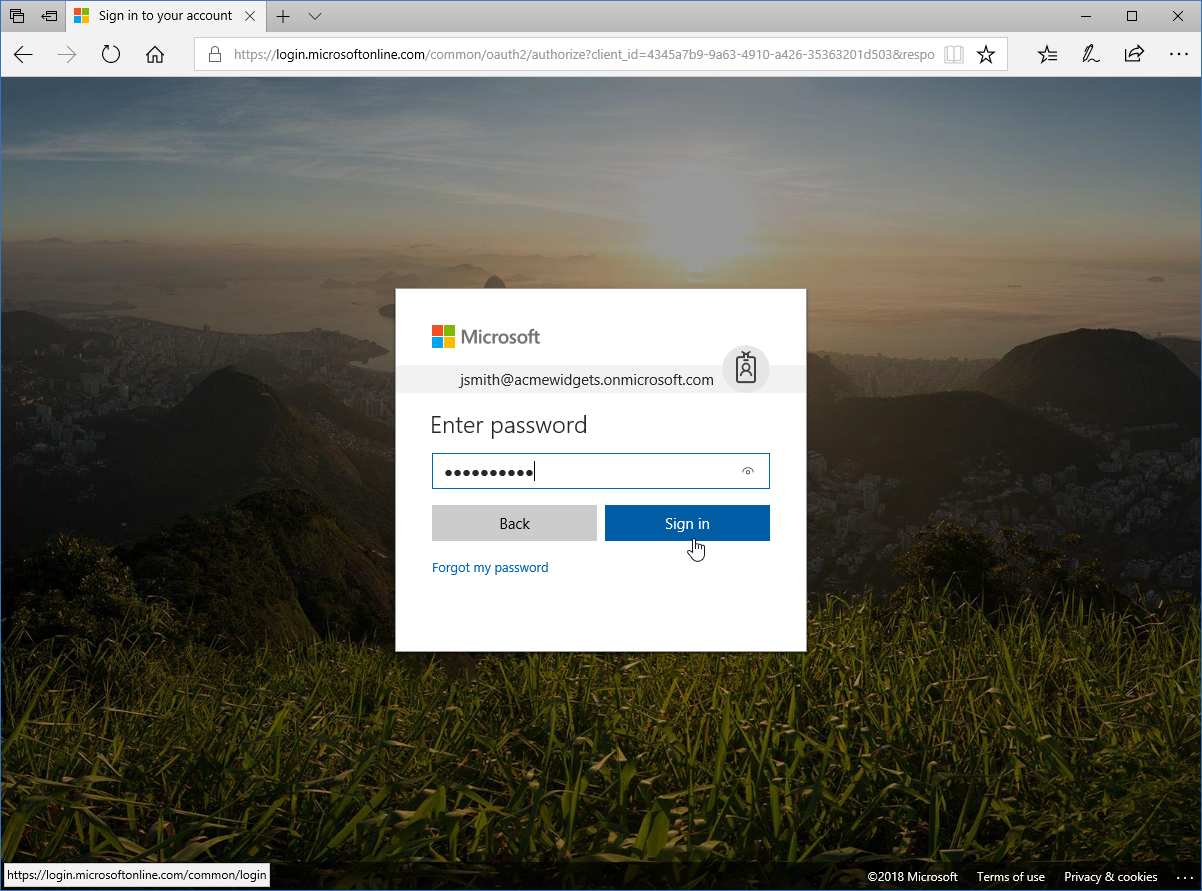
Finally, enter your password and click “Sign in:”
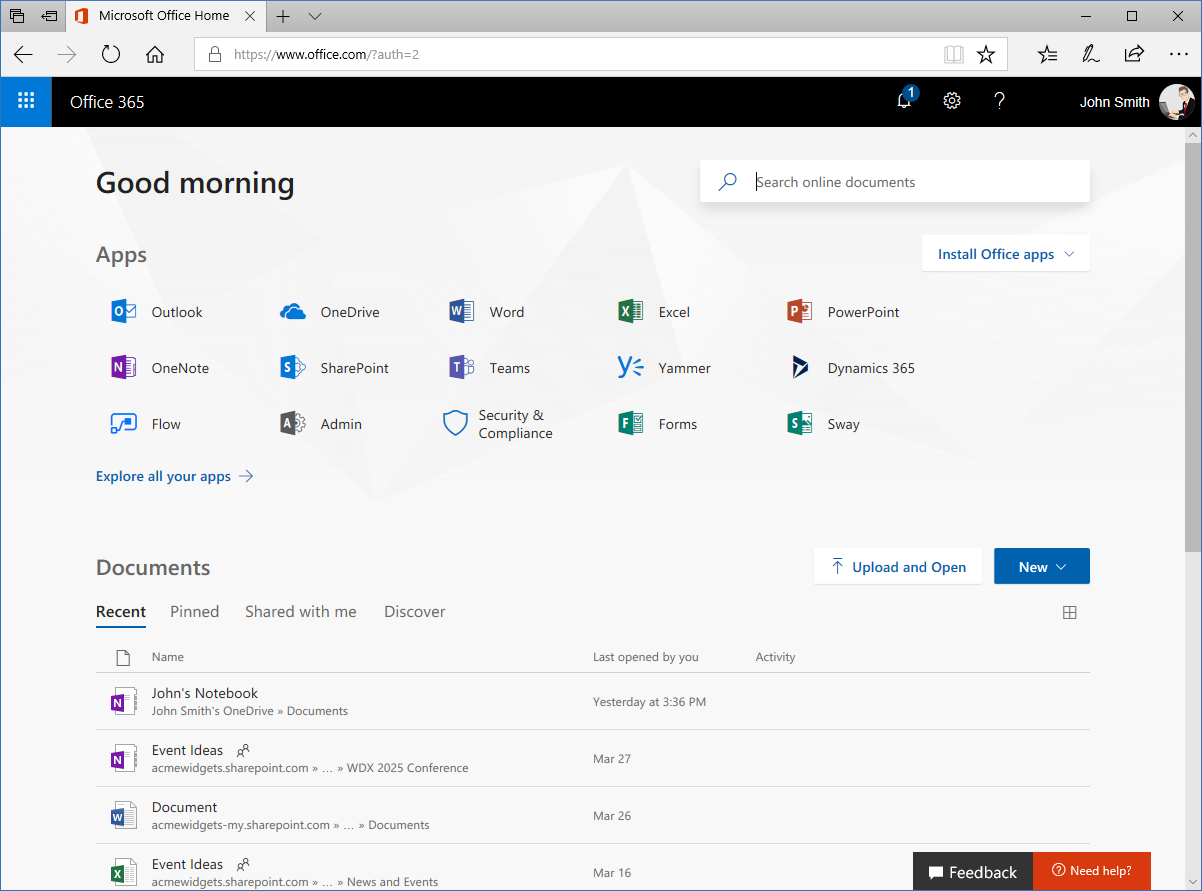
Now, you will see your Office 365 landing page:
Launching Excel Online
To start Excel Online, click the icon on the Office 365 landing page:
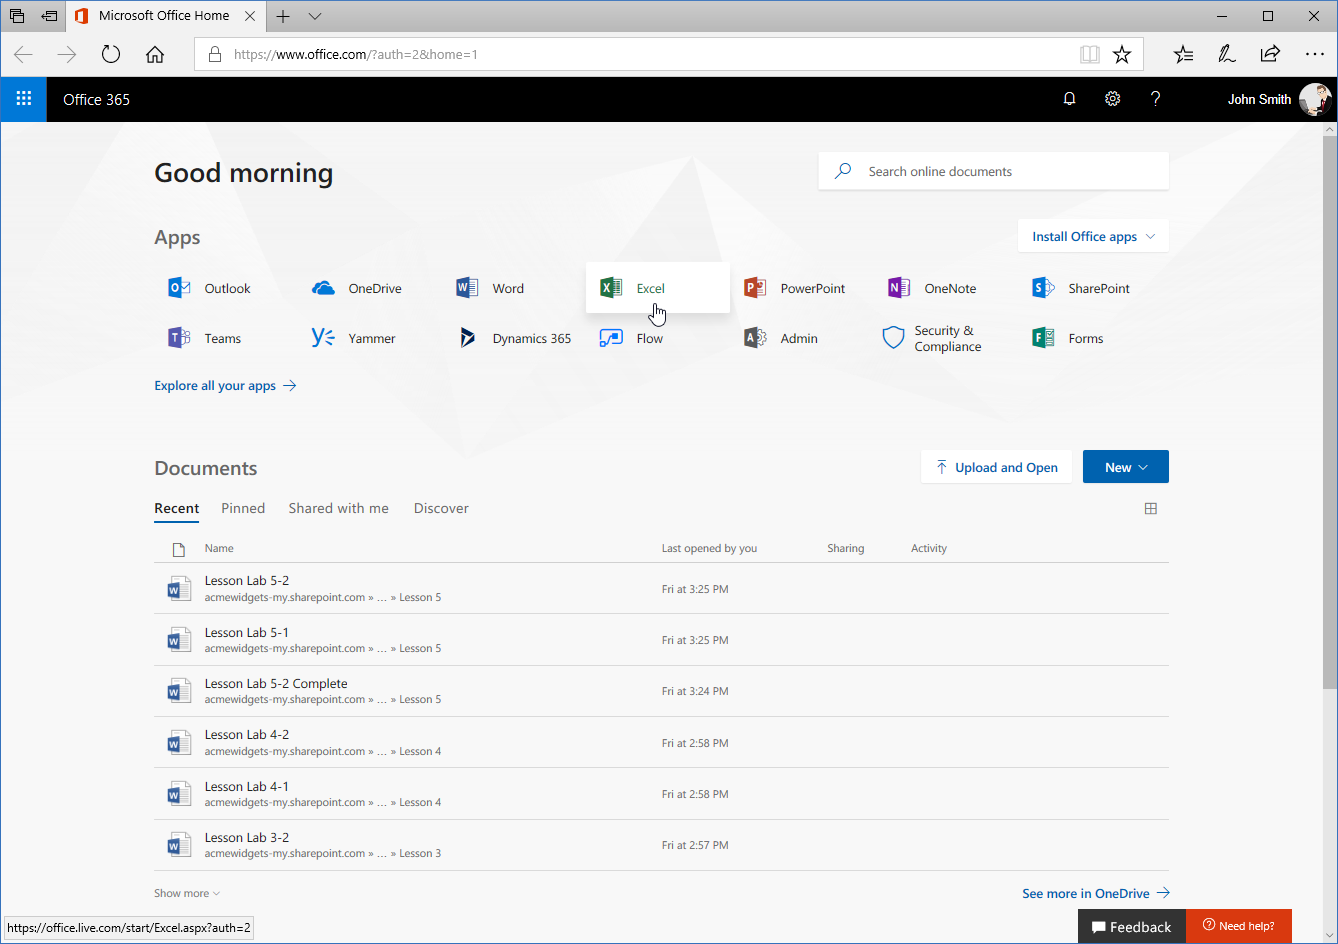
Instructor Tip: You can also click the app launcher in the top left corner and click the Excel icon from the menu.
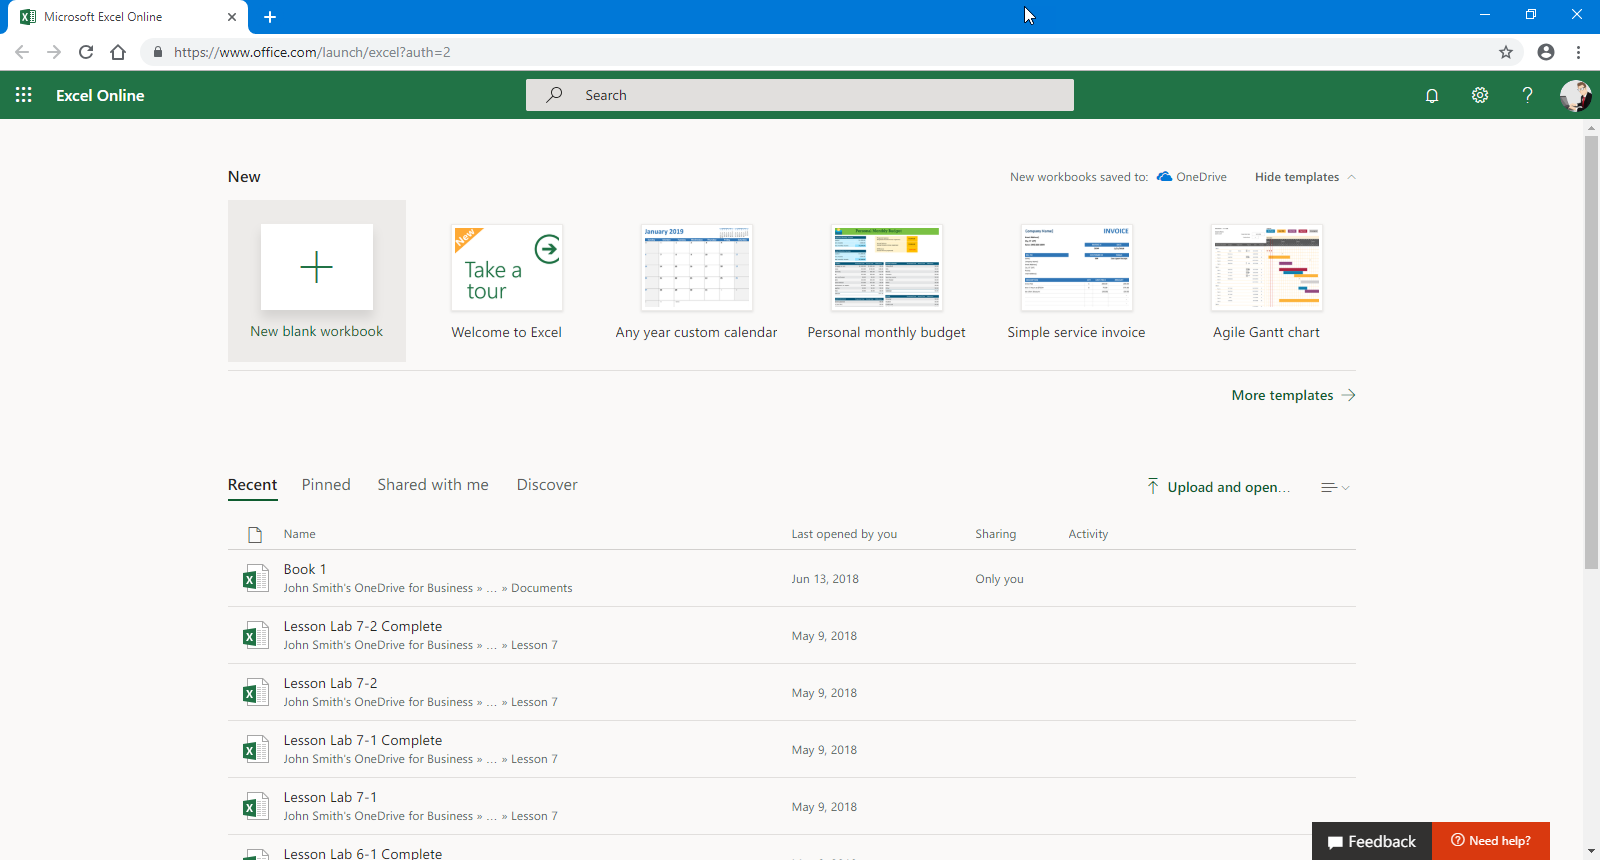
Excel Online will then open in a new tab:
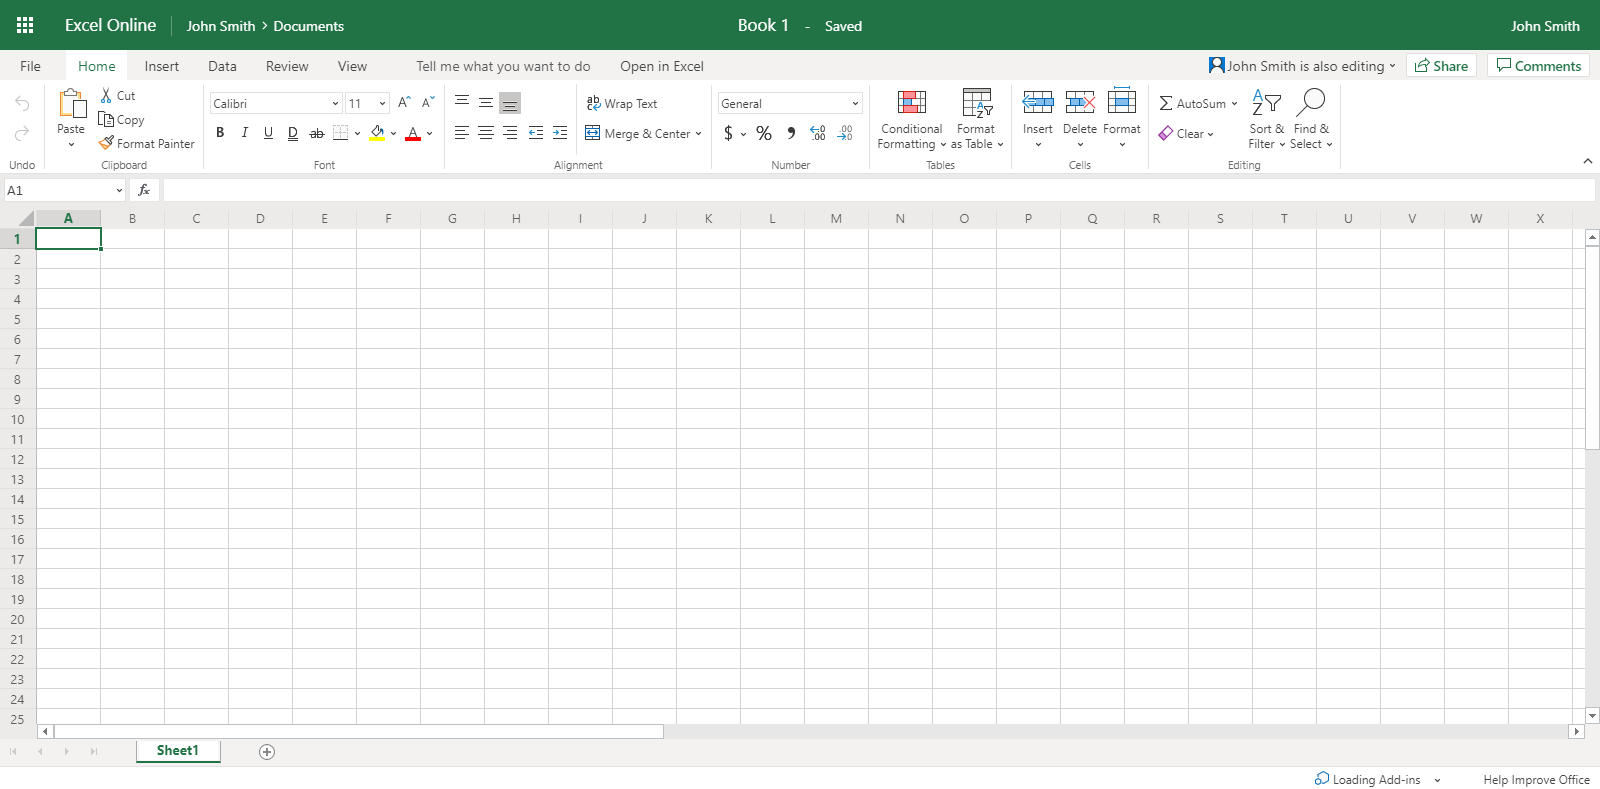
Once you choose a workbook to create or open, you will see the Excel interface:
The Excel Online Interface
Excel Online looks and operates in much the same way as its desktop counterpart, Excel 2016:
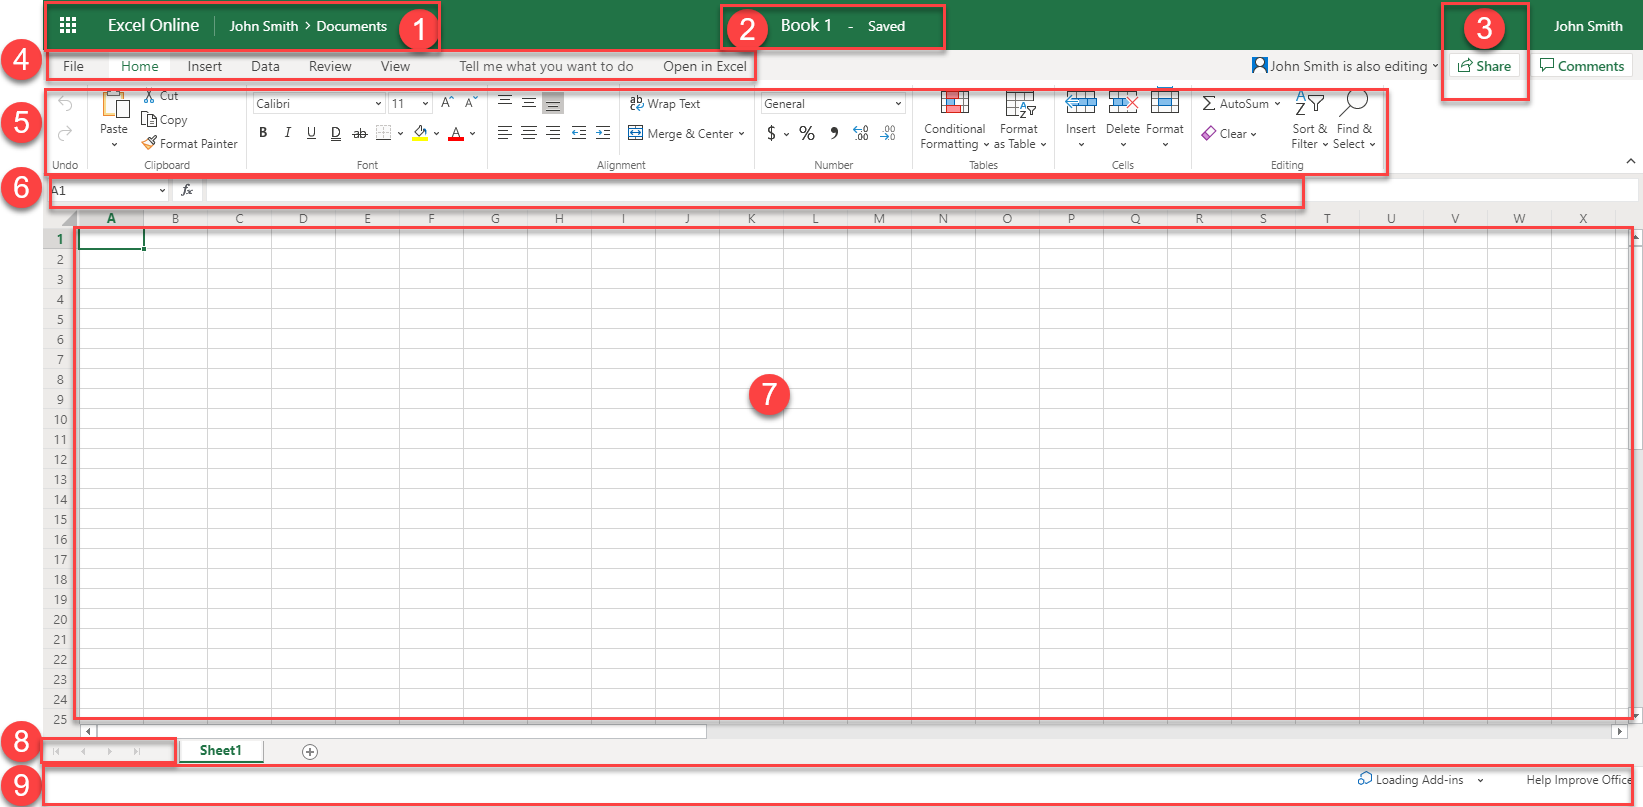
Let’s go over the basics of each element.
1: Navigation Commands
The top left part of the screen contains the app launcher (where you can access other Office 365 apps), the name of the app (Excel Online), and a breadcrumb trail (with clickable links to other parts of your Office 365 profile).
2: Title Bar
The name of the currently open file is displayed here.
3: Sharing Commands
Click this icon to share the current workbook. You can also view your Office 365 profile name here.
4: Tabs
Groups of like commands are organized under tab names. Click a tab to view the commands in the ribbon.
5: Ribbon Interface
Displays tab commands organized into groups. If you click the different tabs, you will see the commands change. Notice, too, that some of the commands might be grayed out. This is because those commands are only usable in certain situations.
Instructor Tip: Icons may also be compressed or collapsed into menus depending on the user’s screen size.
Like the desktop version of Excel, Excel Online also features contextual tabs. These are special tabs that only appear when you are working with a specific object or group of information. For example, if you were to insert and select a shape, you would see a contextual tab offering commands for that object:

Once you switch to working with something else, this tab disappears.
6: Formula Bar
The Formula Bar allows you to enter data in a cell.
7: Working Area
The data in the current file will be shown here.
8: Worksheet Commands
Every Excel file is properly referred to as a workbook, which can contain one or more worksheets. Click the tabs to switch between worksheets.
9: Status Bar
This bar displays running calculations and other information about the workbook.
Creating a New Workbook
When you open Excel Online, you will have the following options: (1) start a New workbook, (2) Excel will recommend a file, or (3) open saved files you have recently used, pinned, or were shared with you.
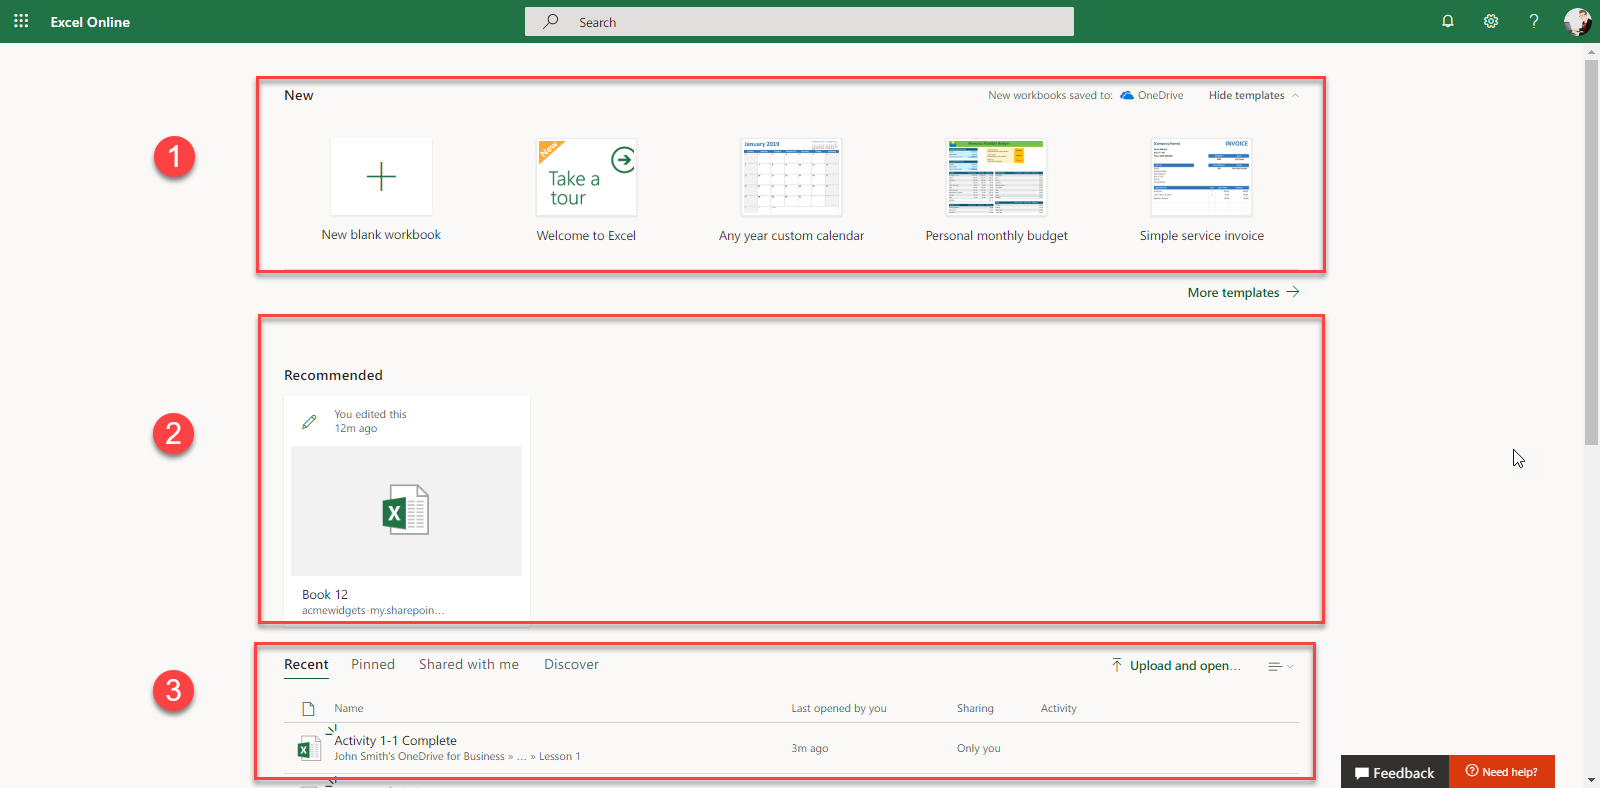
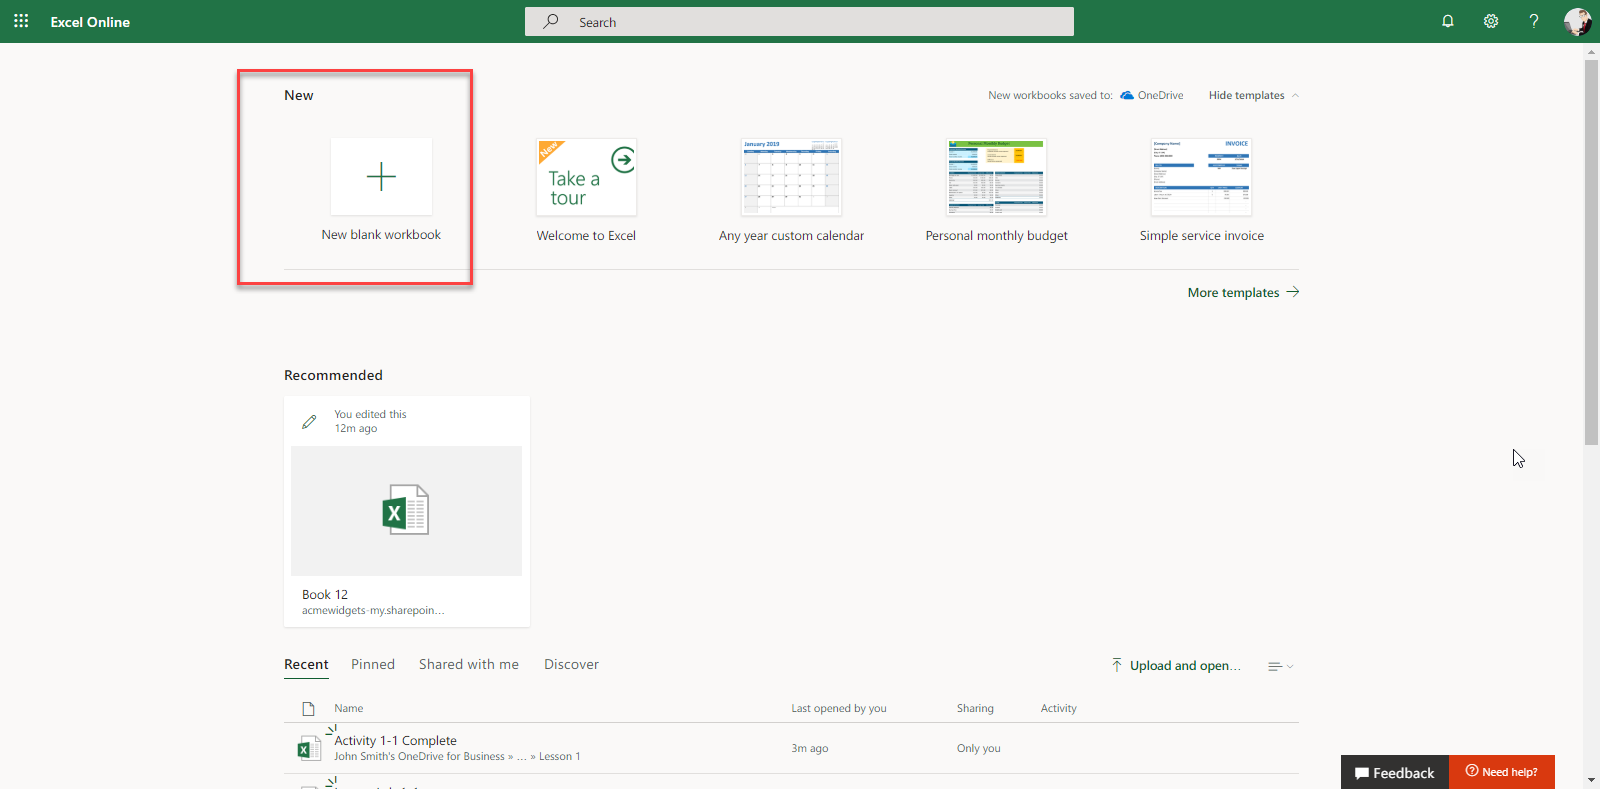
For this example, let’s create a new, blank workbook by clicking the related thumbnail:
The workbook will be created and saved to either your personal OneDrive account or SharePoint space:
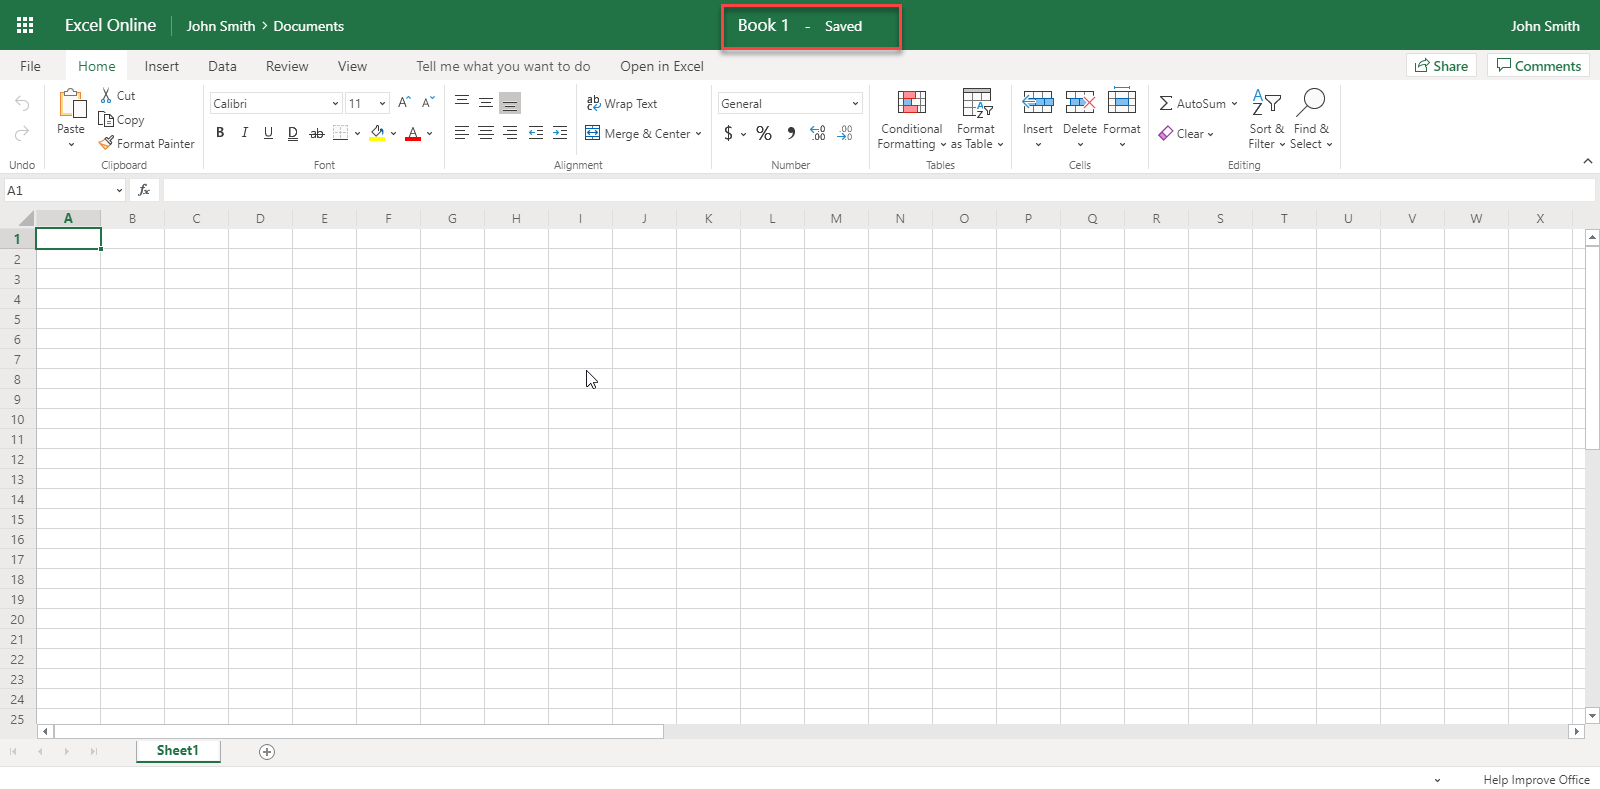
Note that this file will use “Book” as the default name. (A number may be added to the end if a workbook with the same name already exists in the save location.) To change its name, click the current name on the title bar, type the new name, and press “Enter:”

Now, you can add your data just as you would in the desktop version of Excel:
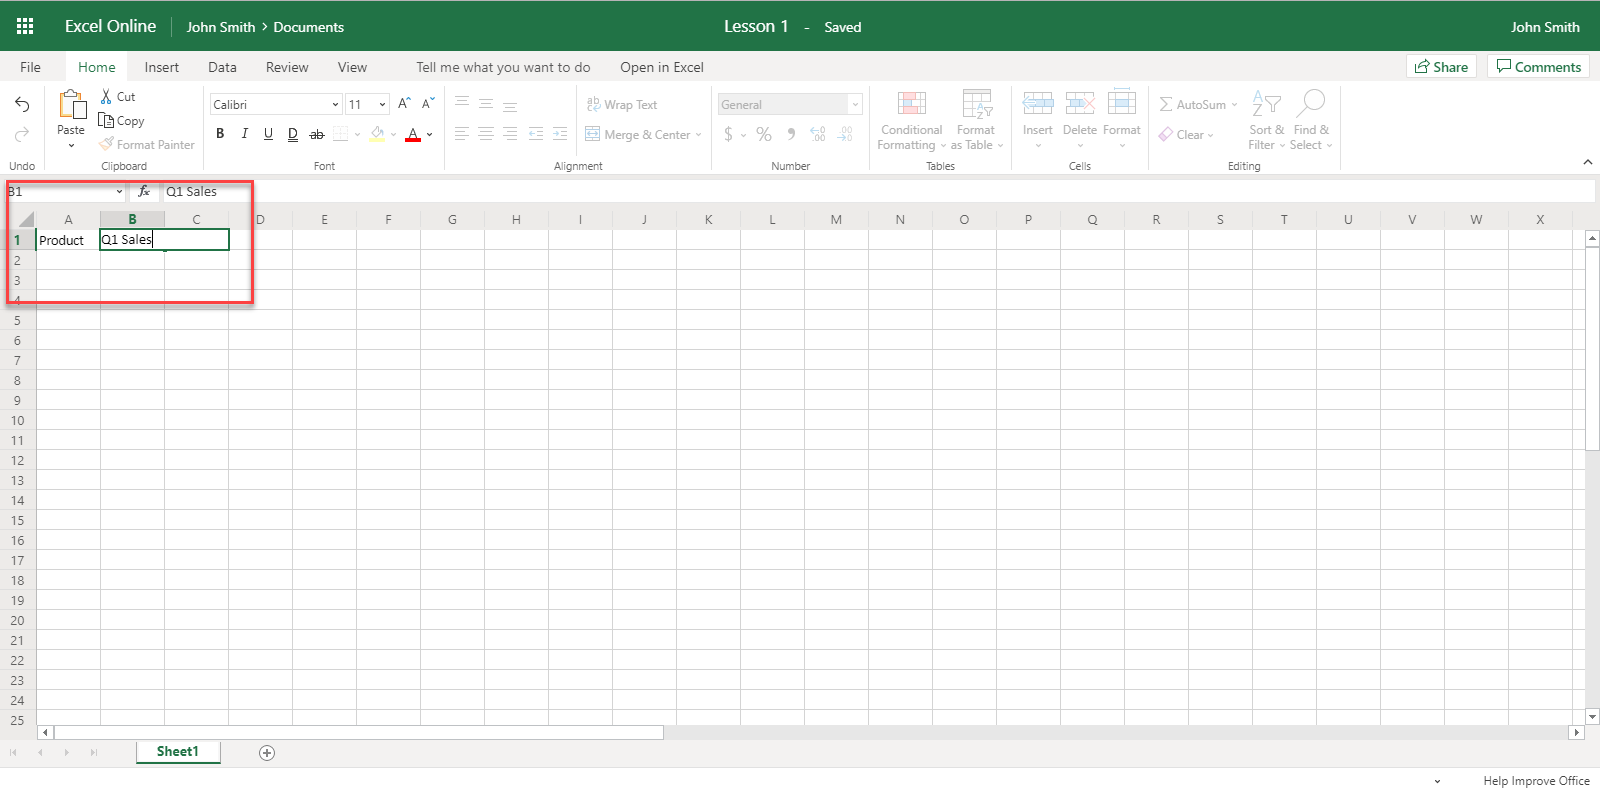
As you continue to work on your file, it will automatically be saved. To create a new workbook, click the File tab:
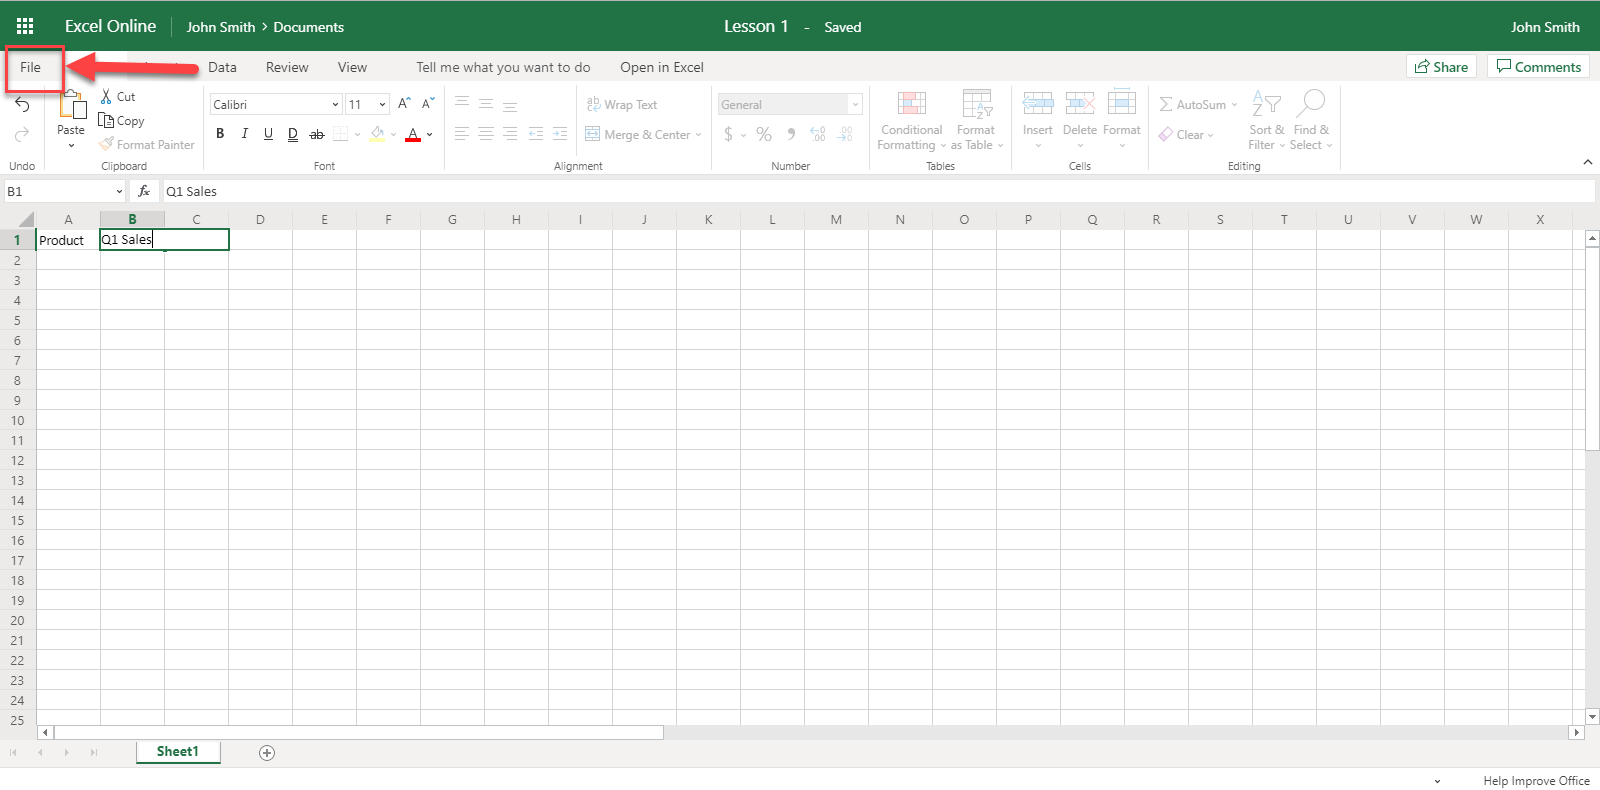
Then, click the New category and click the thumbnail for the workbook you want to create:
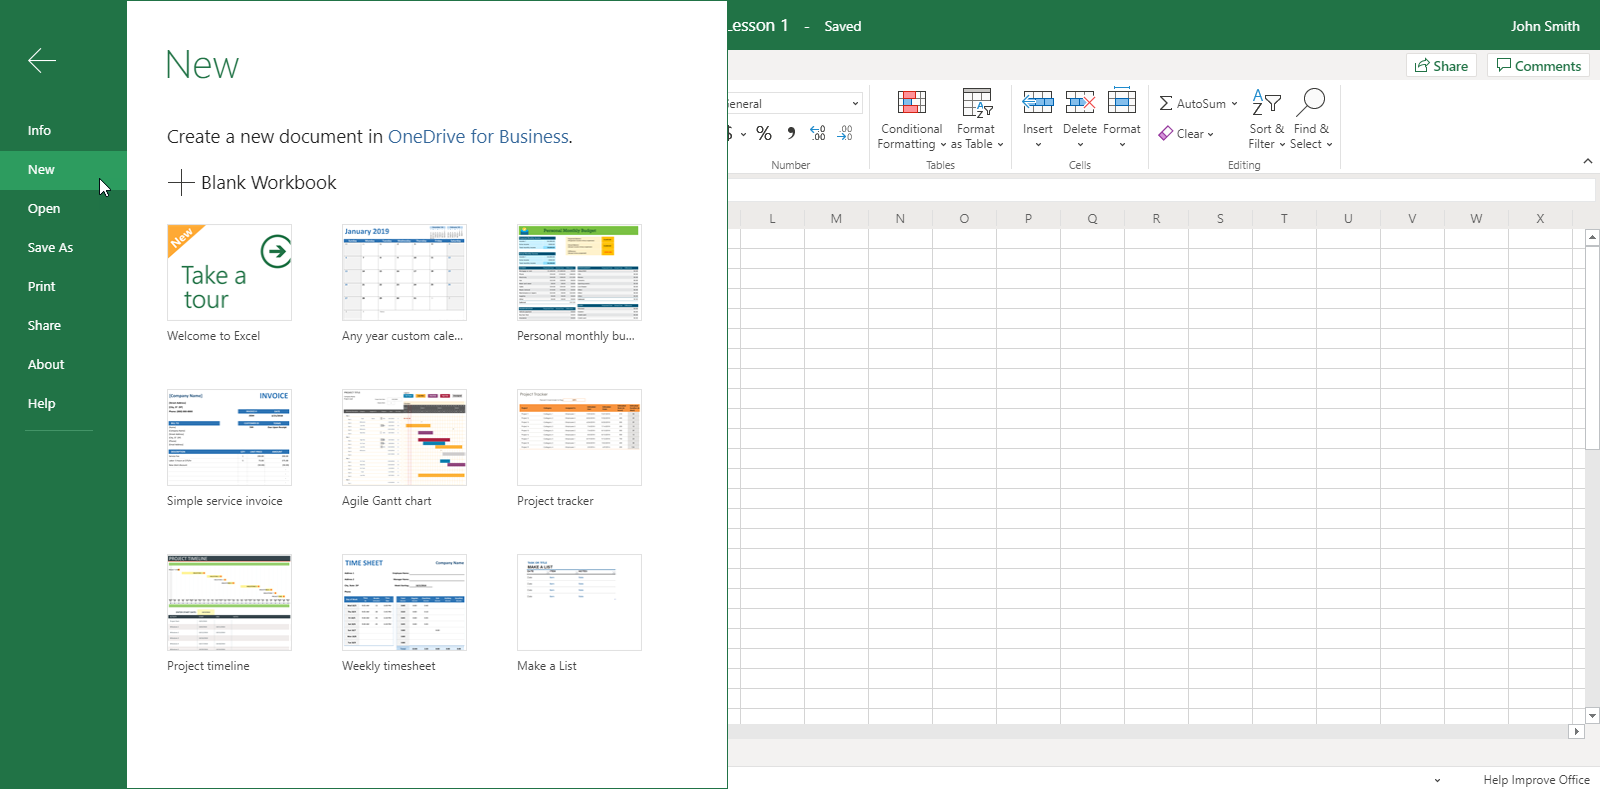
The new workbook will now be created and displayed in the current browser tab.
Closing Excel Online
Remember that Excel Online is constantly saving your workbook, so you do not have to worry about losing data when closing Excel Online, and you do not have to manually save it either. So, once you have finished your work, close the browser tab (or browser) in which Excel Online is open.
This is an excerpt from Velsoft’s latest computer course Microsoft Excel 365: Part 1.


