

Getting Started with OneNote Online
OneNote Online is the cloud-based version of Microsoft’s note taking program. Using OneNote Online, you can gather many types of content into one location, and share your notes as needed. Best of all, OneNote Online’s interface is intuitive and easy to use, so the tools you need will be easily accessible.
Logging into Office 365
Your first step before using OneNote Online is to log into Office 365 with your Microsoft account. To start, open your internet browser and navigate to the login page at https://login.microsoftonline.com:
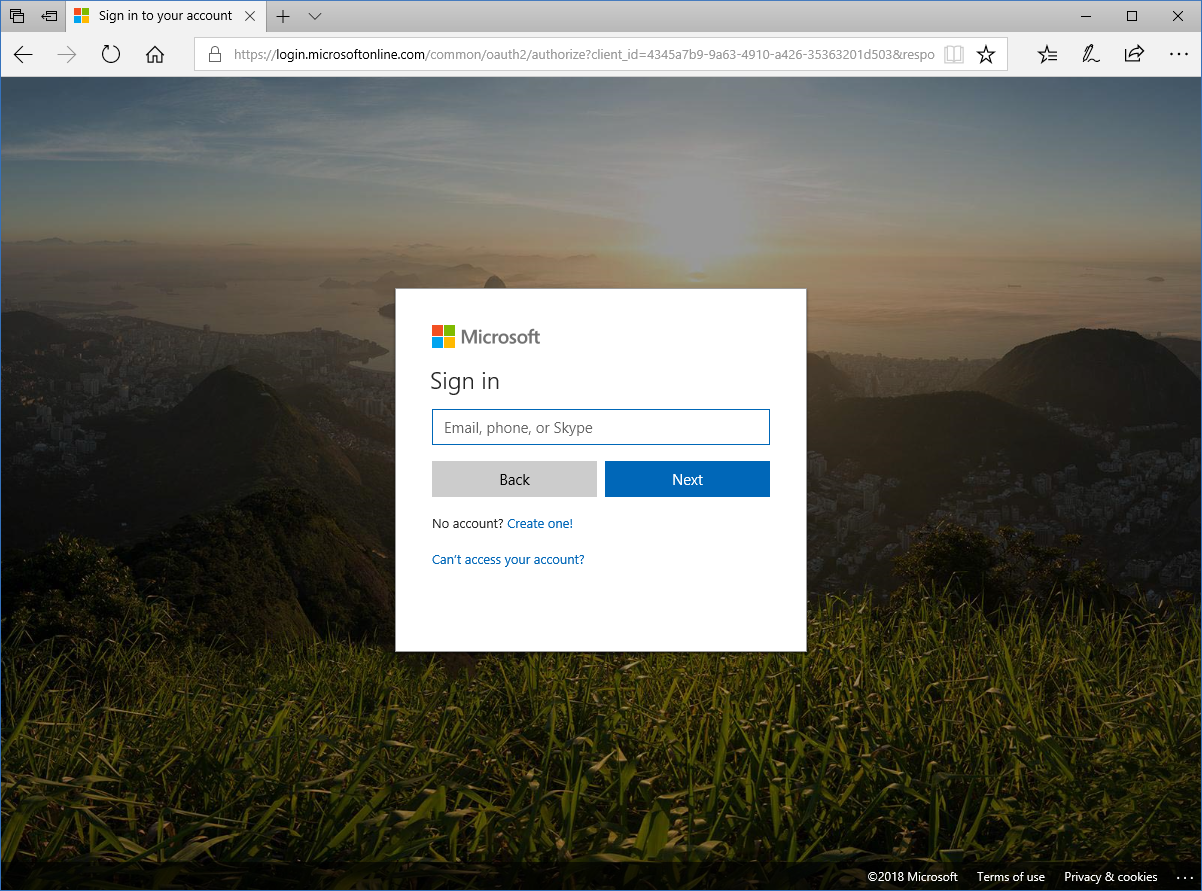
Instructor Tip: If you do not have a Microsoft account, you can create one from this page.
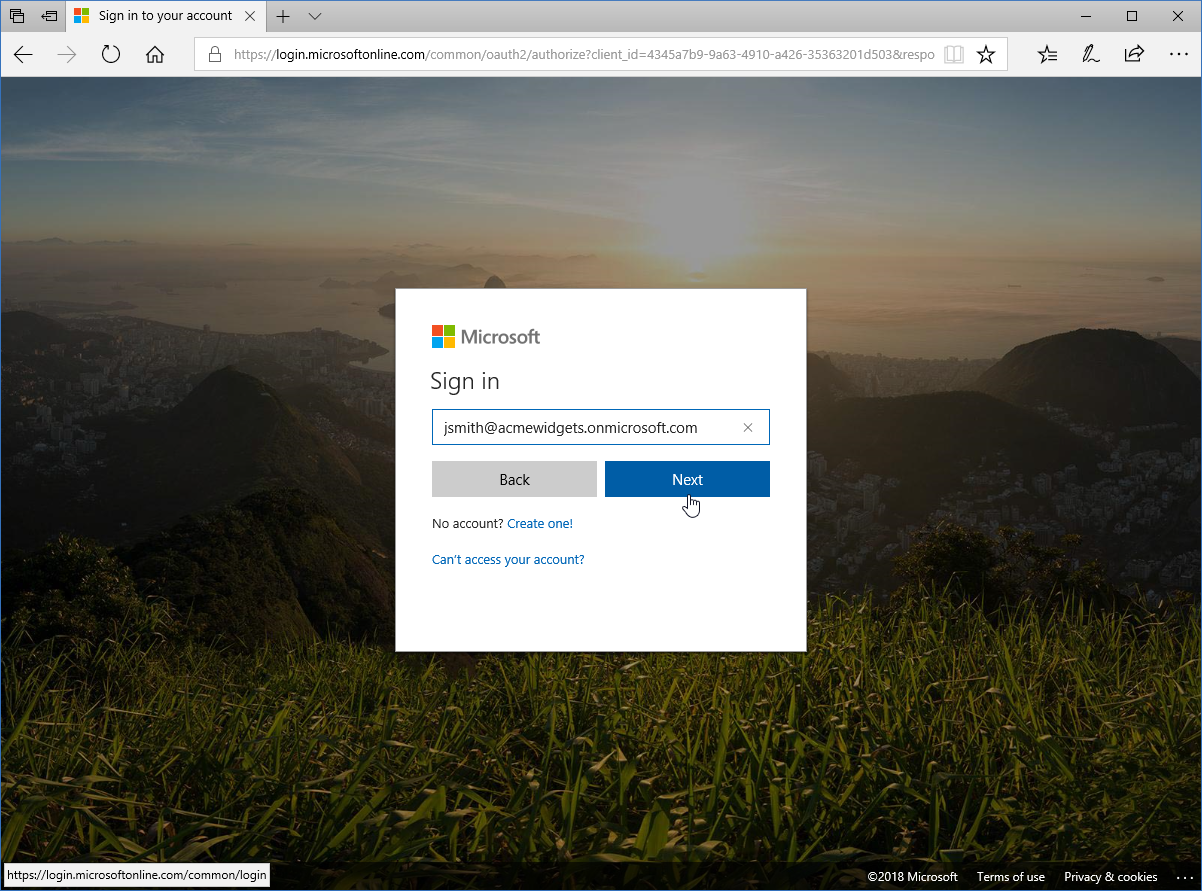
Then, enter your Microsoft account name and click “Next:”
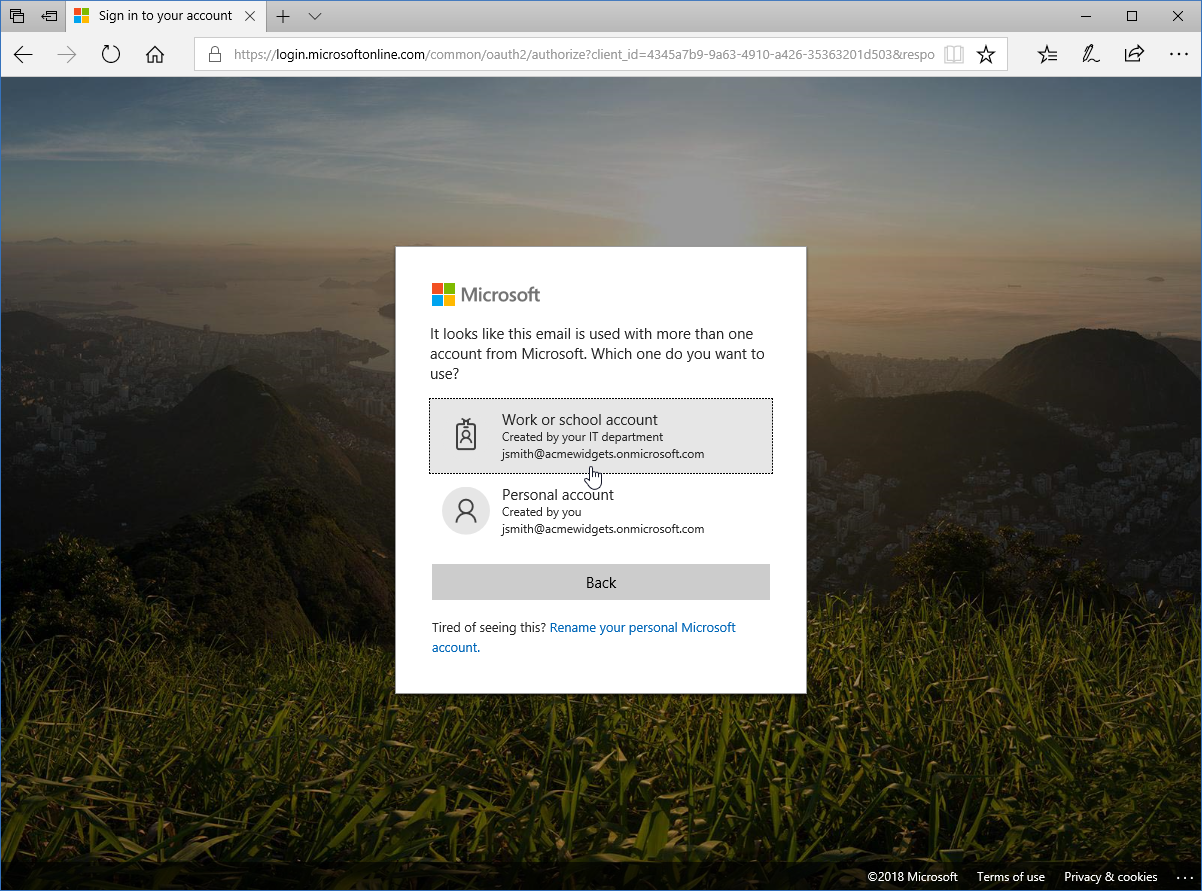
If prompted, choose the sub-account to sign in with:
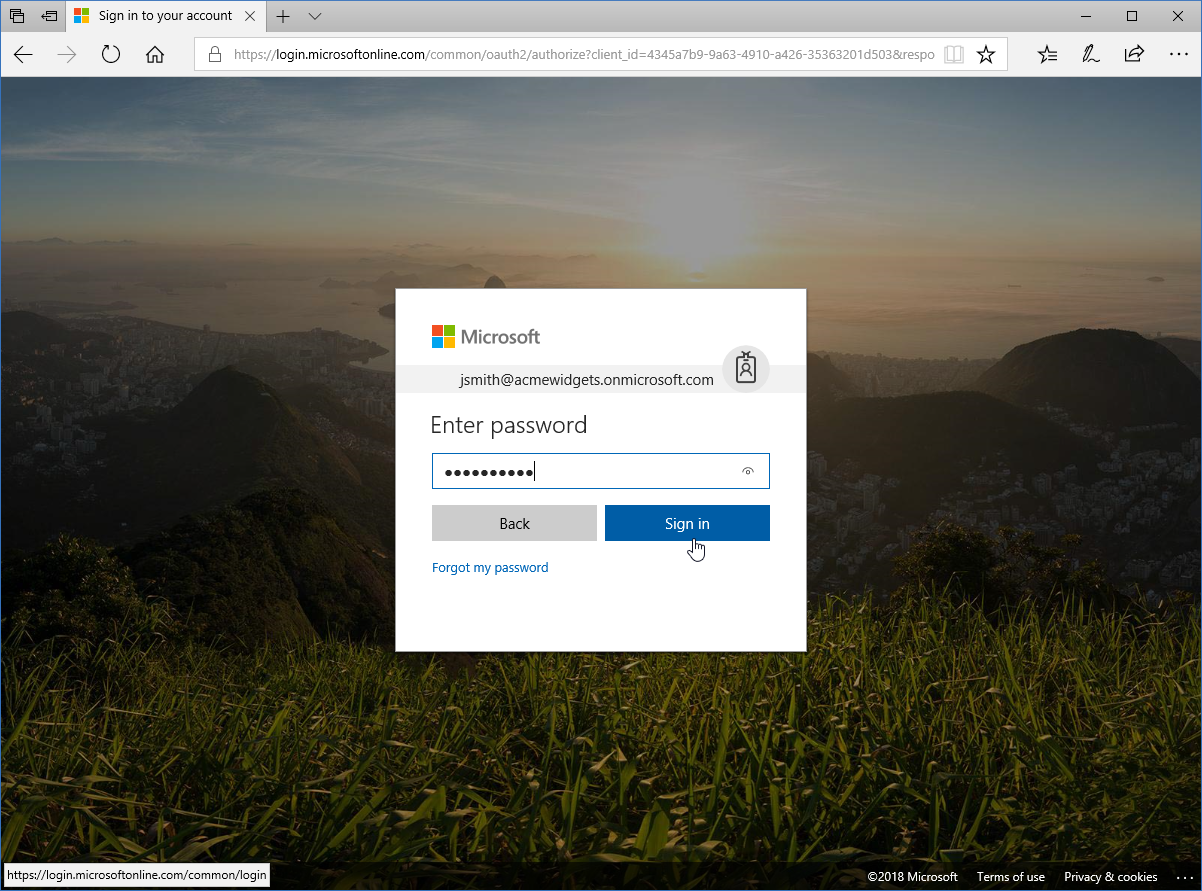
Finally, enter your password and click “Sign in:”
Now, you will see your Office 365 landing page:
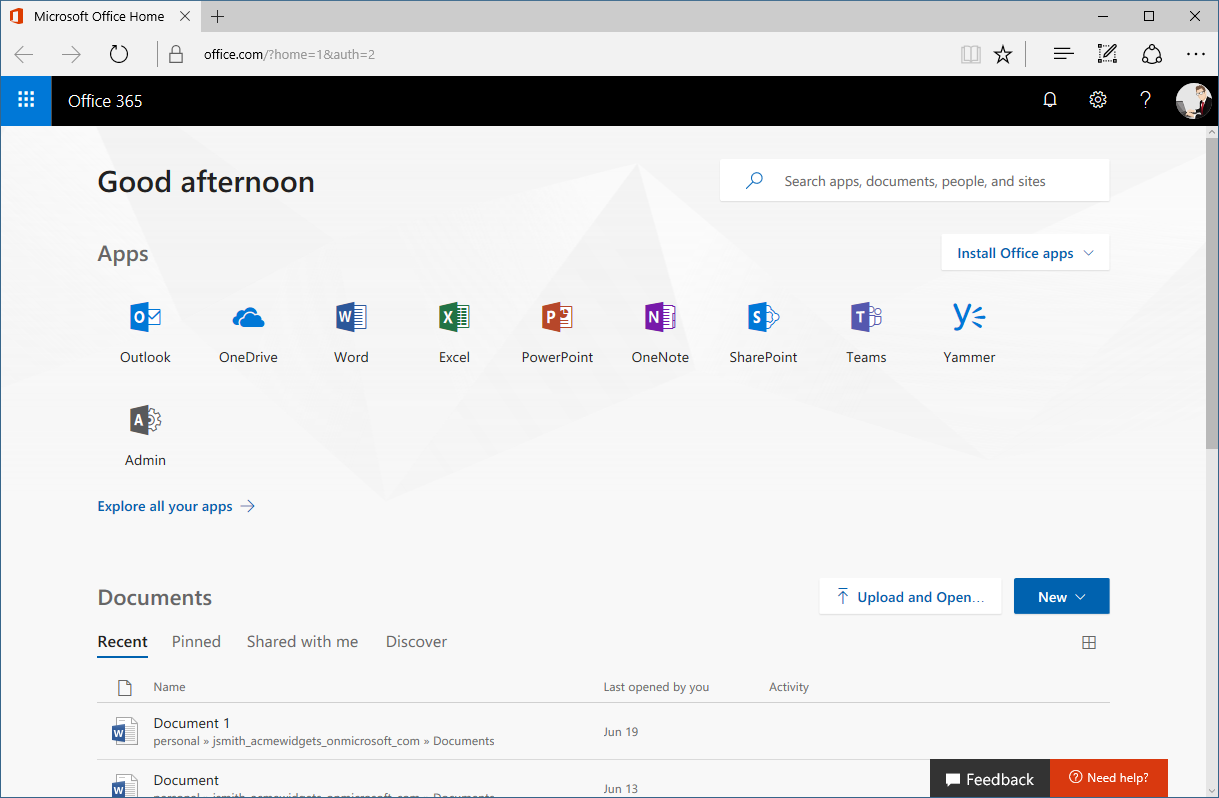
Launching OneNote Online
To start OneNote Online, simply click the icon on the Office 365 landing page:
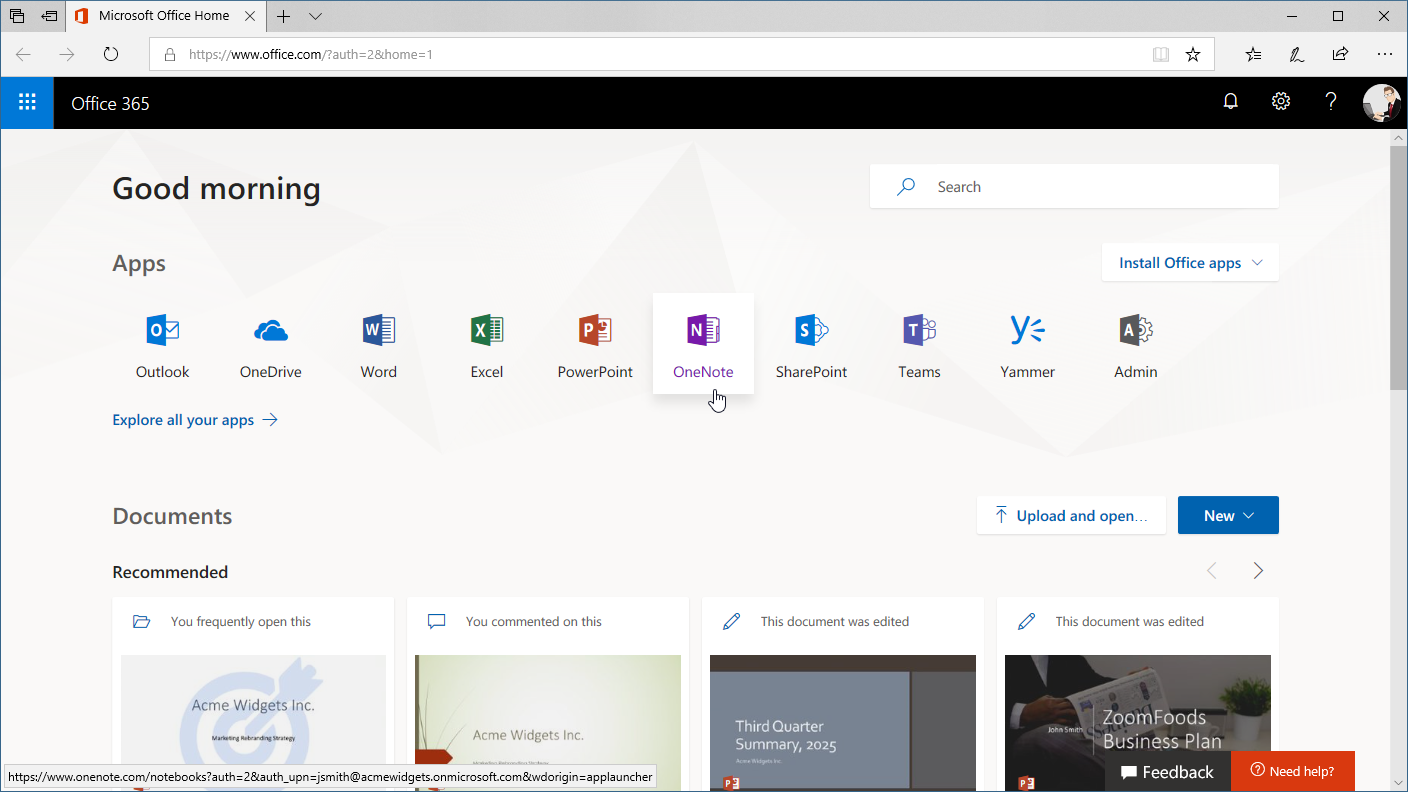
Instructor Tip: You can also click the app launcher in the top left corner and click the OneNote icon from the menu that appears.
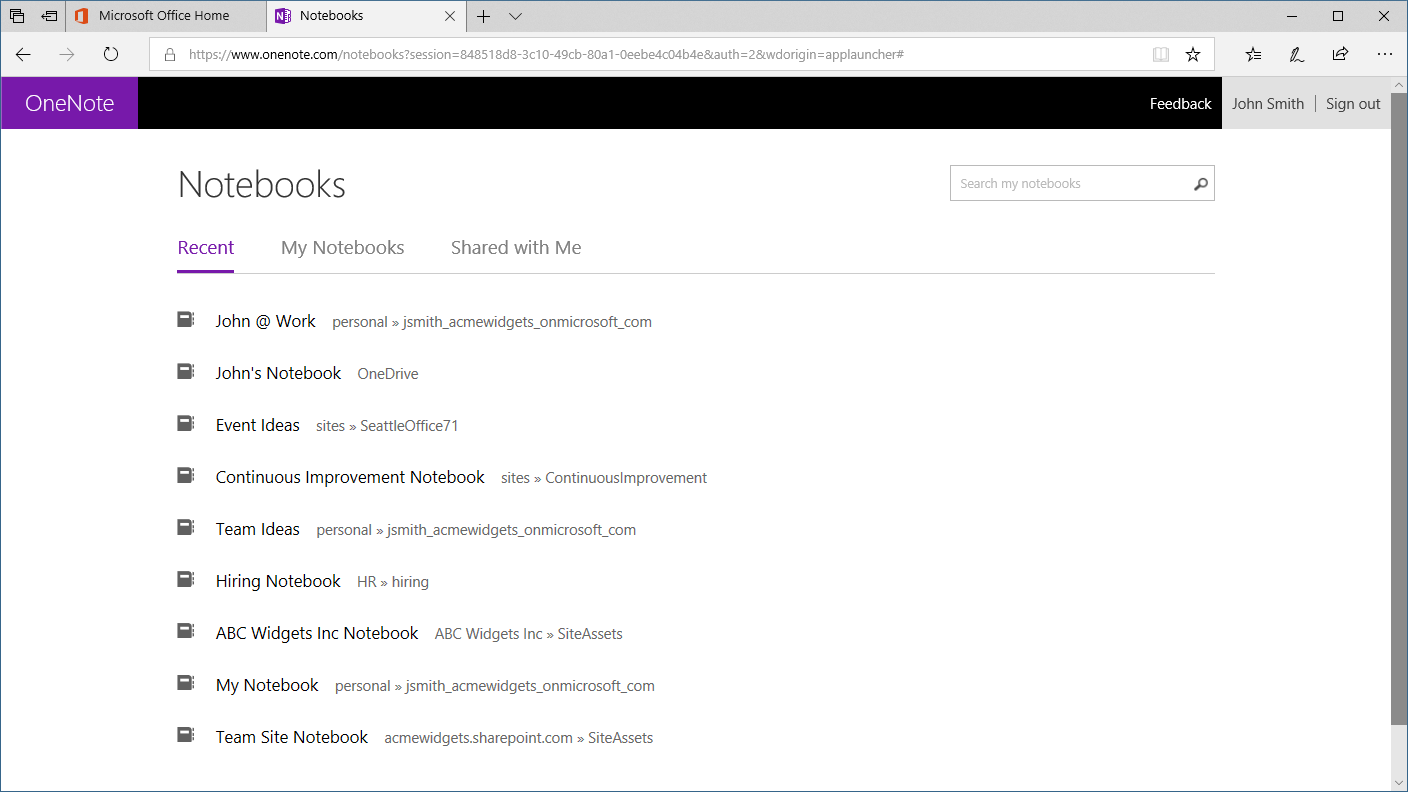
OneNote Online will then open to the Notebooks window, where you can choose a notebook to open:
Once you click a link, the selected notebook will open in the OneNote Online interface:
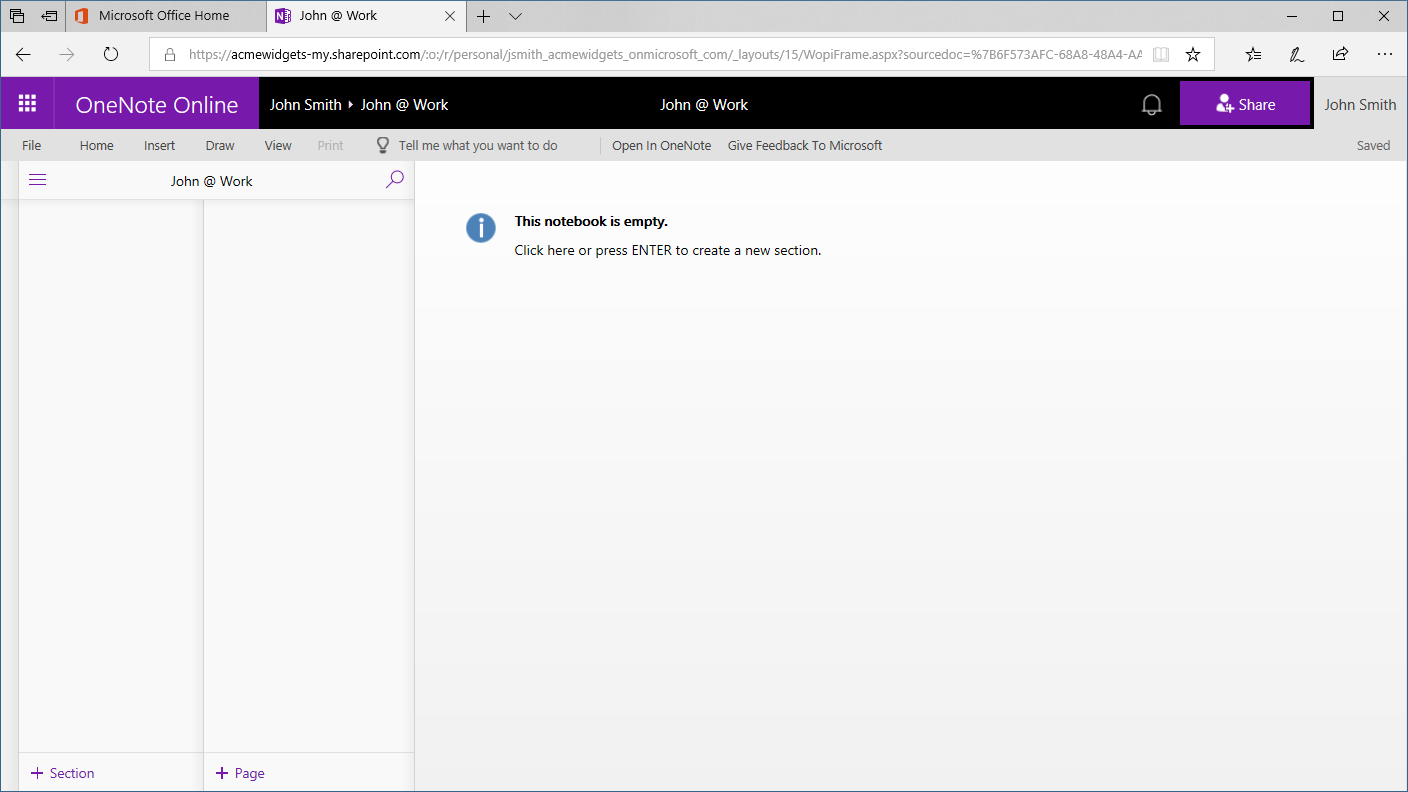
The OneNote Online Interface
OneNote Online looks and operates in much the same way as its desktop counterpart:
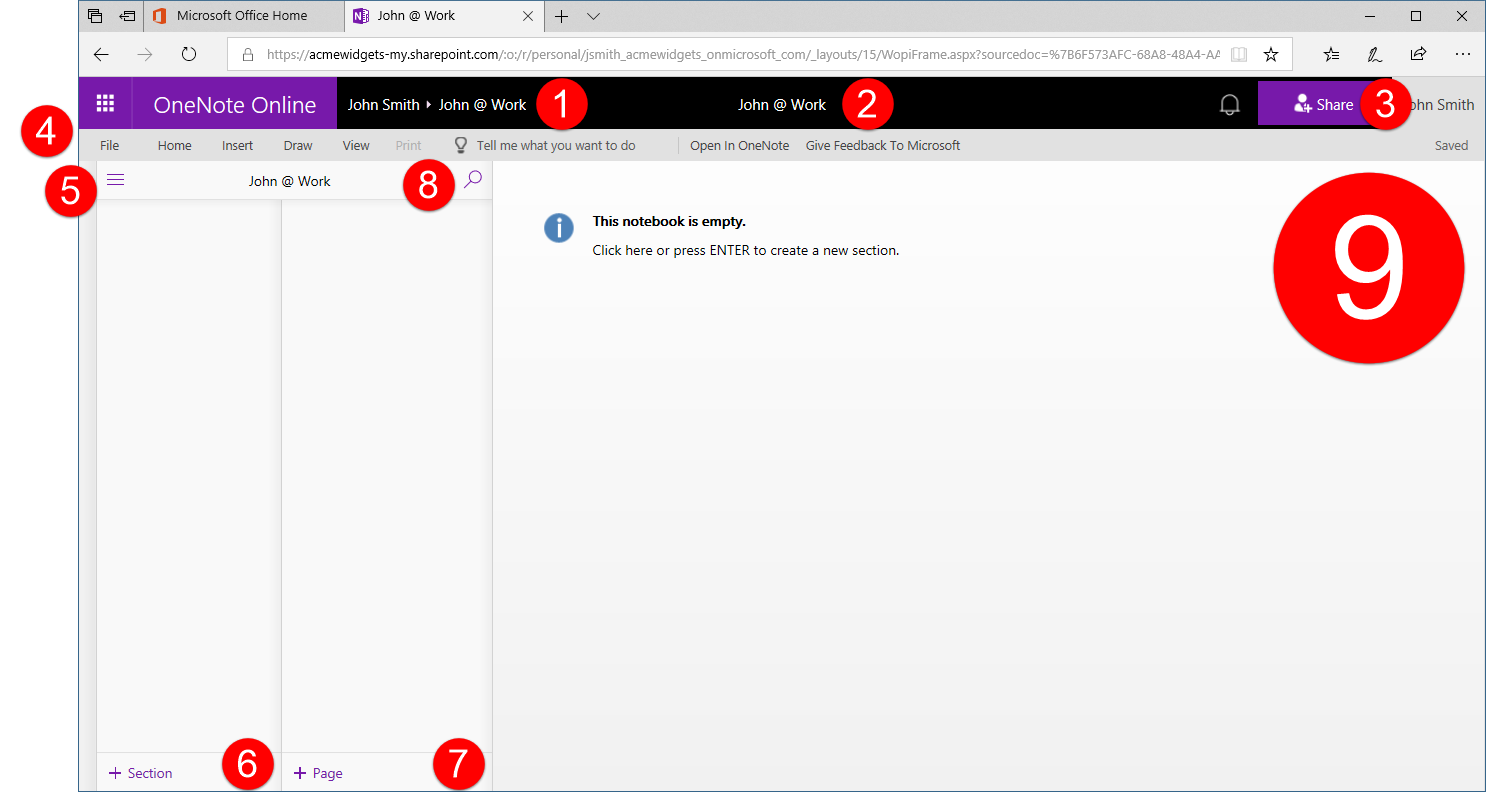
Let’s go over the basics of each element.
1: Navigation Commands
The top left part of the screen contains the app launcher (where you can access other Office 365 apps), the name of the app (OneNote Online), and a breadcrumb trail (with clickable links to other parts of your Office 365 profile).
2: Title Bar
The name of the current notebook is displayed here.
3: Sharing Commands
Click this icon to share the current notebook. You can also view notifications and your Office 365 profile name here.
4: Tabs
Groups of like commands are organized under tab names. Click a tab to expand the ribbon and view its commands.
5: Notebooks Pane
Click the hamburger icon to open the Notebooks pane and view a list of notebooks accessible to you.
6: Sections Pane
Lists the section in the current notebook. Click the plus sign to add a new section.
7: Pages Pane
Lists the pages in the current notebook. Click the plus sign to add a new page.
8: Search Icon
Click this icon to search the current section or page.
9: Working Area
The content in the currently selected page will be shown here.
Getting Help in OneNote Online
The easiest way to get help in OneNote Online is with the new Tell Me feature. Simply type your question in the box by the ribbon tabs:

Instructor Tip: You can press Alt + Q to switch focus directly to the Tell Me field.
As you type, you will see various links to the related topic:

At the top, you will usually see shortcuts to related commands. (If a command is grayed out, it means that it is not currently available.)
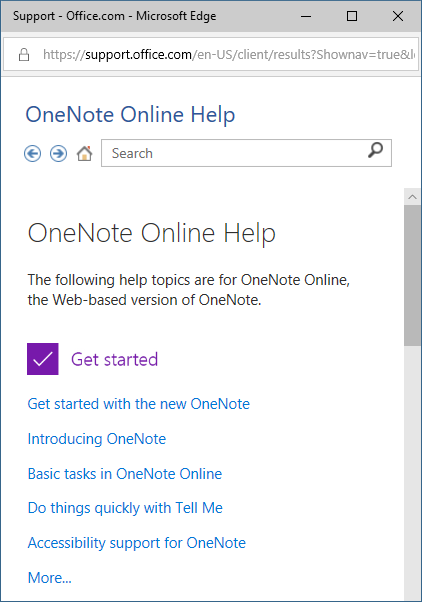
You will also see an option to open the full Help window (indicated with a question mark icon). You can also access the full Help window by clicking File → Help → Help:
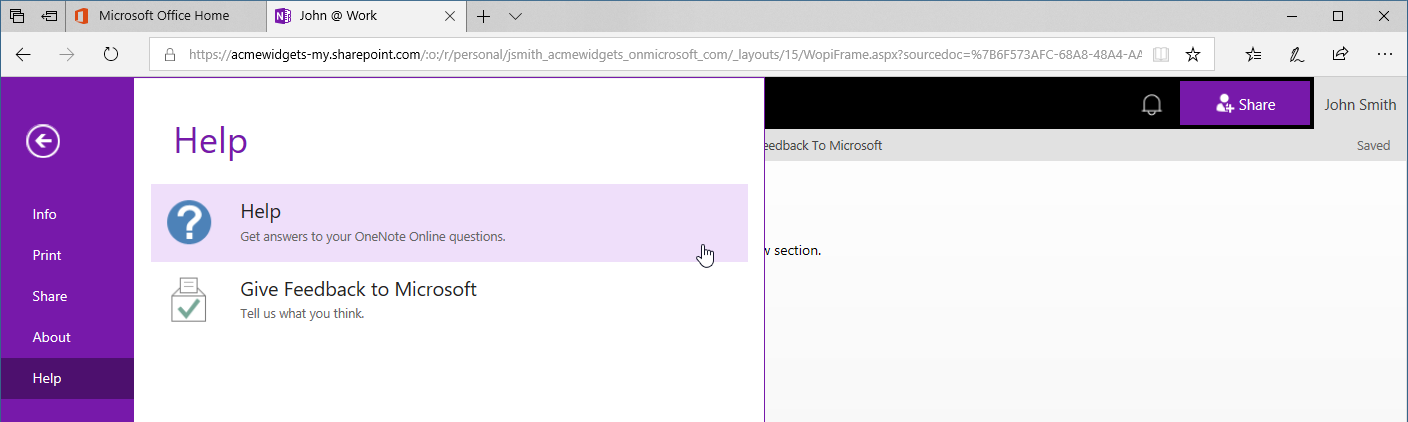
Either of these commands will open the familiar, full-featured OneNote Online Help page:
Closing OneNote Online
OneNote Online is continually saving your notebook, so you do not have to worry about losing data when closing OneNote Online, and you do not have to manually save it either. So, once you have finished working on your notebook, you can just close the browser tab (or browser) in which OneNote Online is open.
This is an excerpt from Velsoft’s latest computer course release: Microsoft OneNote Online. The course is intended to help all users get up to speed quickly with PowerPoint Online. It covers: getting started with the app; creating and delivering a simple presentation; using formatting and editing tools; adding images, shapes, tables, and SmartArt; and finalizing a presentation.
Leave a Reply

