

Getting Started With Word: Course Excerpt
Identify the Components of the Word Interface
Microsoft Word is a powerful, easy-to-use word processor. It can be used to create reports, letters, memos, and all sorts of different documents. If you have used earlier versions of Microsoft Word, or programs such as Pages or OpenOffice Writer, then you may already be familiar with some of Word 365’s features. This lesson will help you in getting started with Word.
Objectives
- What Microsoft Office Word 365 is
- What Word documents look like
- About the parts of the Microsoft Word application window, including the ribbon interface, Backstage view, task panes, and galleries
Microsoft Office Word 365
Microsoft Word 365 is the word processing program available through the subscription-based Office 365 service. Using Word, you can create professional documents of nearly any type. You can also add tables, charts, shapes, photos, videos, and much more. Best of all, Word’s interface is intuitive and customizable, so the things you need will be easily accessible.
Once you launch Microsoft Word 365, you will see the Start screen:
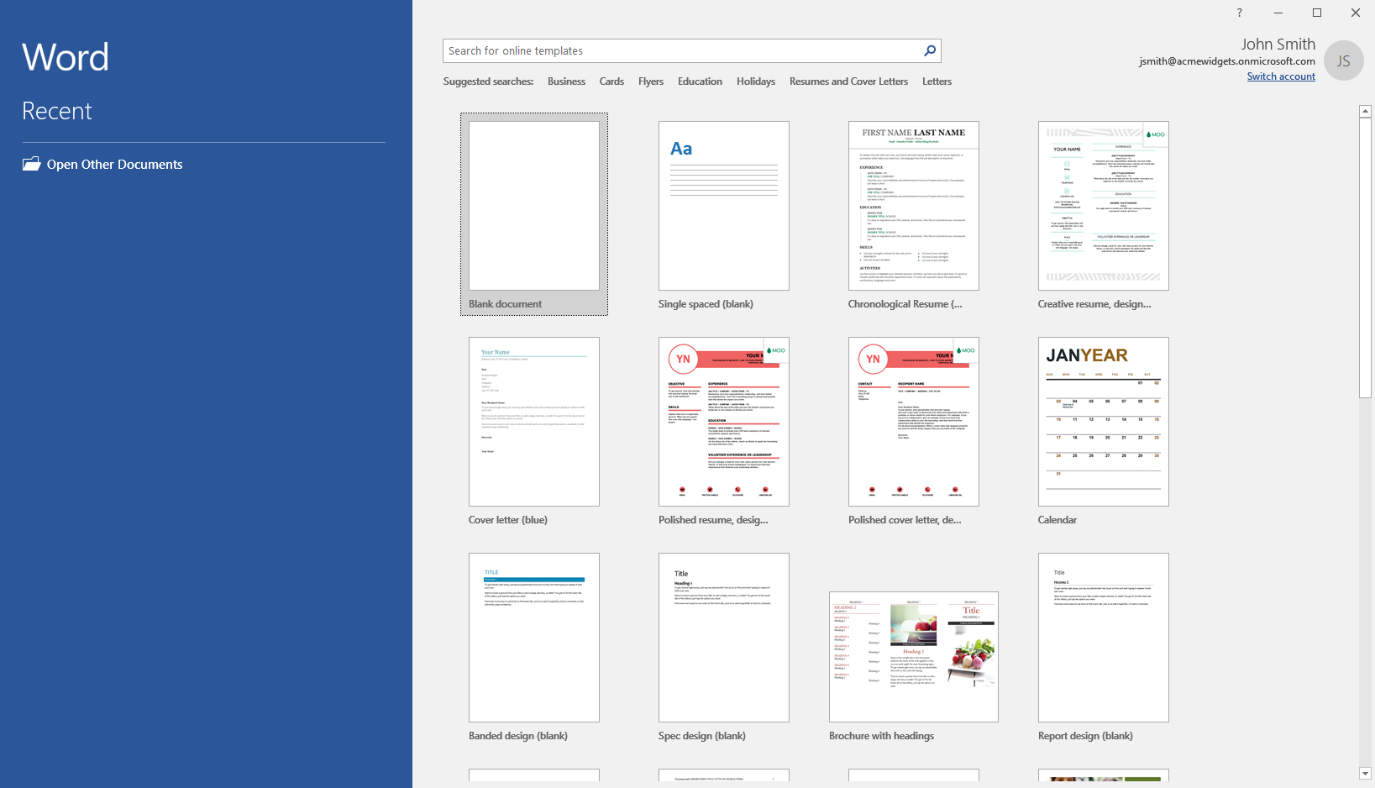
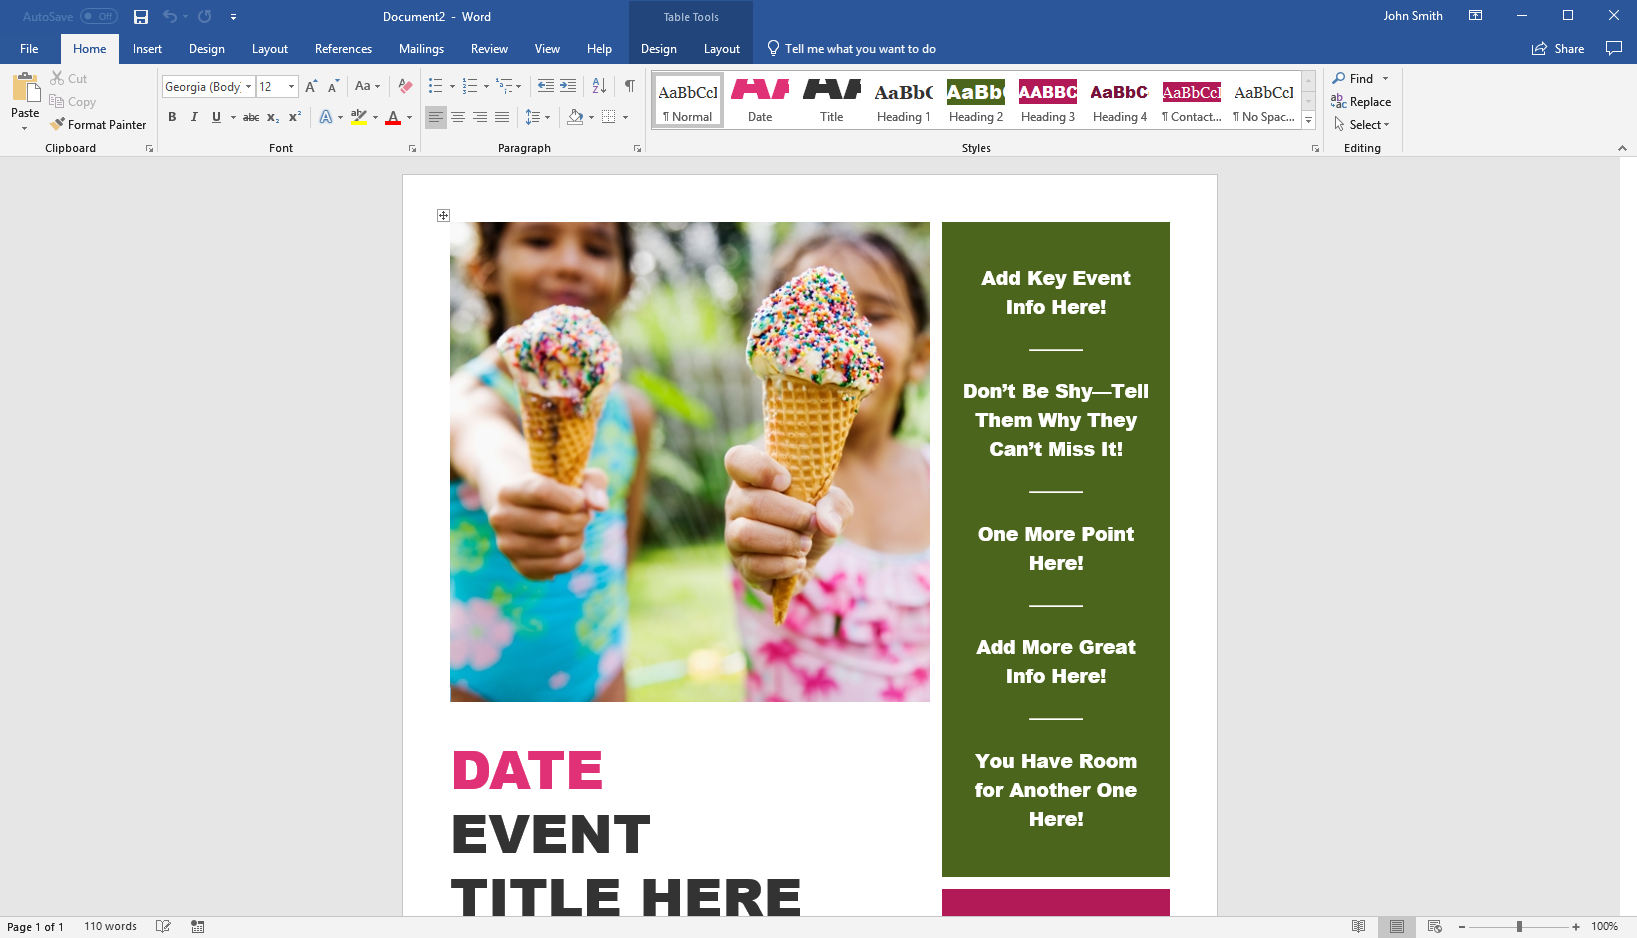
Double-click the type of document that you would like to create. If you choose a blank document, the Word window will open right away and you will be ready to begin:
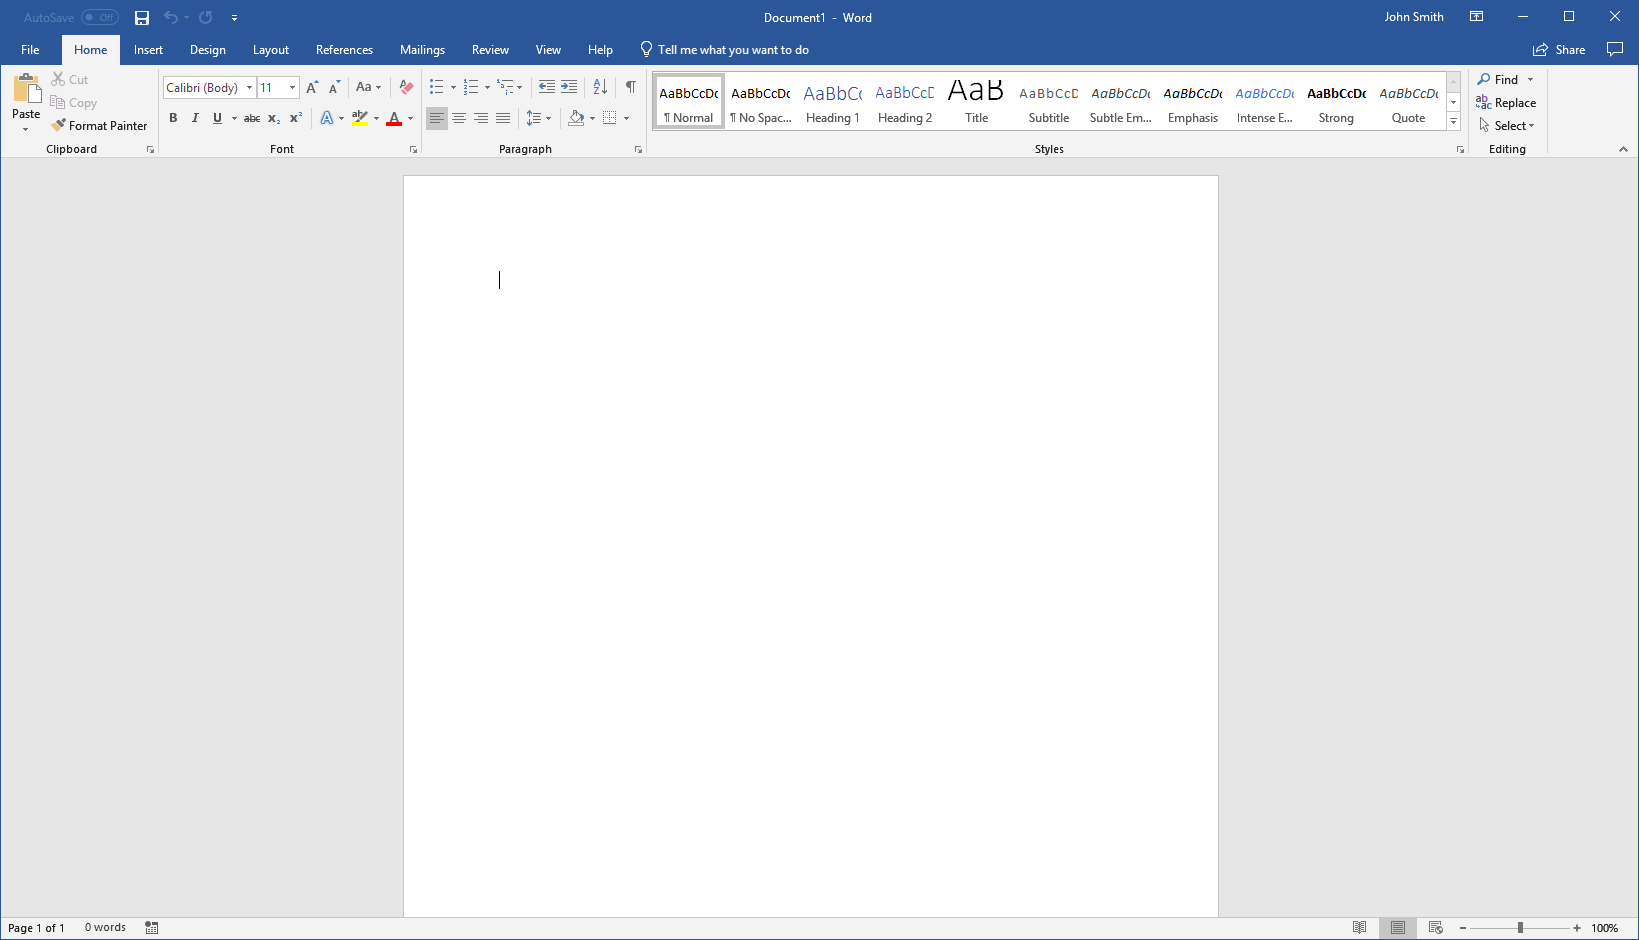
If you choose another type of document, you may be prompted to set related options. Once you click Create, you will see the document window shown above.
Word Documents
The files that you will create with Microsoft Word are called documents. Each document is composed of one or more pages. Since these documents are electronic files, they can be easily saved, modified, shared, and printed.
Microsoft Word contains hundreds of different features so that you can include whatever information you need in your document:
The Word Application Window
When you open Microsoft Word, you will see something like the following image. This is the user interface:

Let’s go over the basics of what you will see and how to interact with the interface. This is just an introduction to each element; you will get more experience with each item as we progress through this course.
1: Title Bar
The name of the program and the currently open file are displayed here. You may also see more information about the file (for example, if it is open in read-only mode or has been opened from the internet).
2: Quick Access Toolbar
As the name implies, the Quick Access toolbar gives you quick access to frequently used commands. This toolbar is completely customizable and can be positioned above or below the ribbon commands.
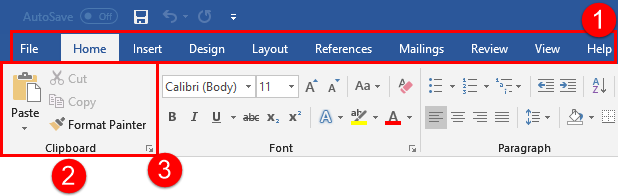
3: Tabs
Groups of like commands are organized under tab names. Click a tab to view the commands in the ribbon (4).
4: Ribbon Interface
Displays tab commands organized into groups. If you click the different tabs, you will see the commands change. Notice that some of the commands might be grayed out. This is because those commands are only usable in certain situations.
Word 365 also features contextual tabs. These are special tabs that only appear when you are working with a specific object or group of information. For example, if you insert and select a picture, you see a contextual tab offering commands for that object:
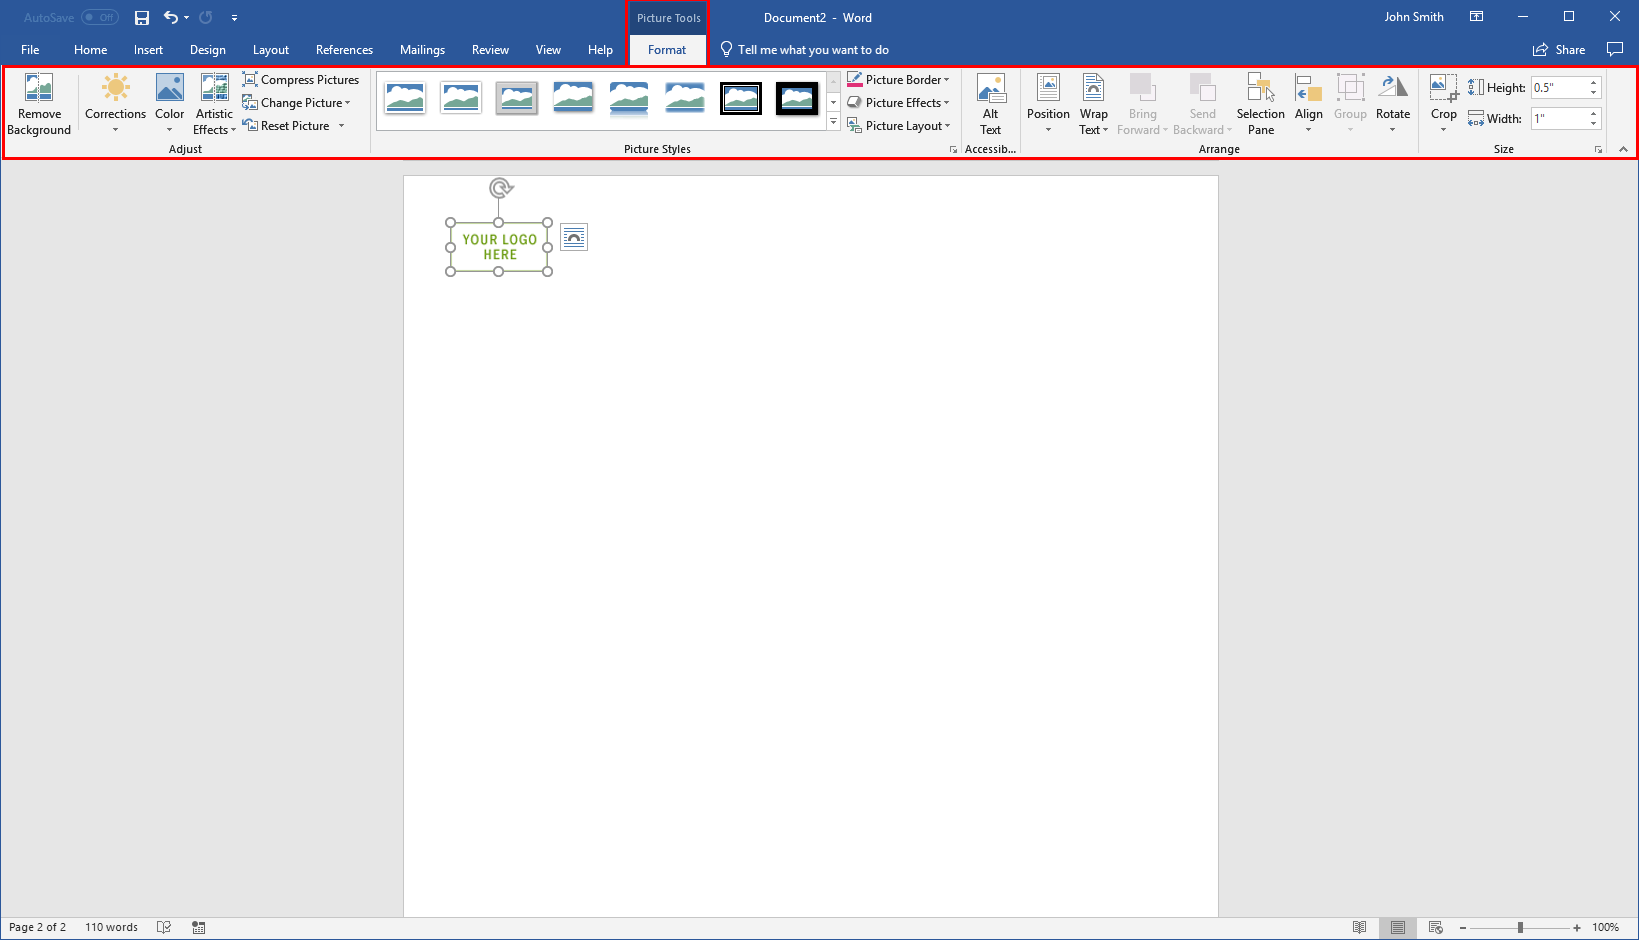
Once you switch back to working with something else, this tab disappears.
5: Tell Me
Search for Word help.
6: Program Management
Using the top set of icons in the top right-hand corner of the screen, you can manage your Microsoft account, change how the ribbon is displayed, minimize the window, maximize/restore the window, or close the current document. Below this, you will see commands to share the current document, manage version history (if applicable) and manage comments.
7: Working Area
The data contained in the currently open file will be shown here.
8: Scroll Bars
If the Word document spans more than one screen, you can use this scroll bar to move through its pages. You may also see a horizontal scroll bar depending on your view.
9: Status Bar
This bar is used to display information about the document. In the sample image, you can see a page and word count on the left-hand side. (You may also see spell checking and macro commands here depending on your current task.) On the right-hand side you will see commands to change views and zoom into or out of the document.
The Ribbon
Microsoft Word’s commands (2) are accessed via ribbon tabs (1), and split into groups (3). Each group is identified with a name, and the active tab is highlighted in white to differentiate it from the others:
Here is an overview of each of the tabs.
- File: Access Backstage view, where you can work with your document as a whole.
- Home: Perform basic formatting and editing tasks.
- Insert: Add other elements to your document, such as charts, pictures, videos, cover pages, headers, and footers.
- Design: Change the appearance of your document.
- Layout: Change the setup of your document and its elements.
- References: Manage document resources, such as the table of contents and index. Also contains research commands
- Mailings: Create a mail merge document.
- Review: Proofread the document, add comments, and manage changes.
- View: View the document and/or open Word windows in different ways.
- Help: Access the Help task pane, contact support, or view training resources.
Remember that Word 365 also features contextual tabs. These are special tabs that only appear when you are working with a specific object or group of information.
Hide the Ribbon
You can change the ribbon display by clicking the arrow icon ( ) in the top right-hand corner of the Microsoft Word screen:

Each option provides a description of what it will do, and will remain in effect until you choose a different option.
You can also collapse the ribbon using the arrow in its bottom right corner (or the Ctrl + F1 shortcut):

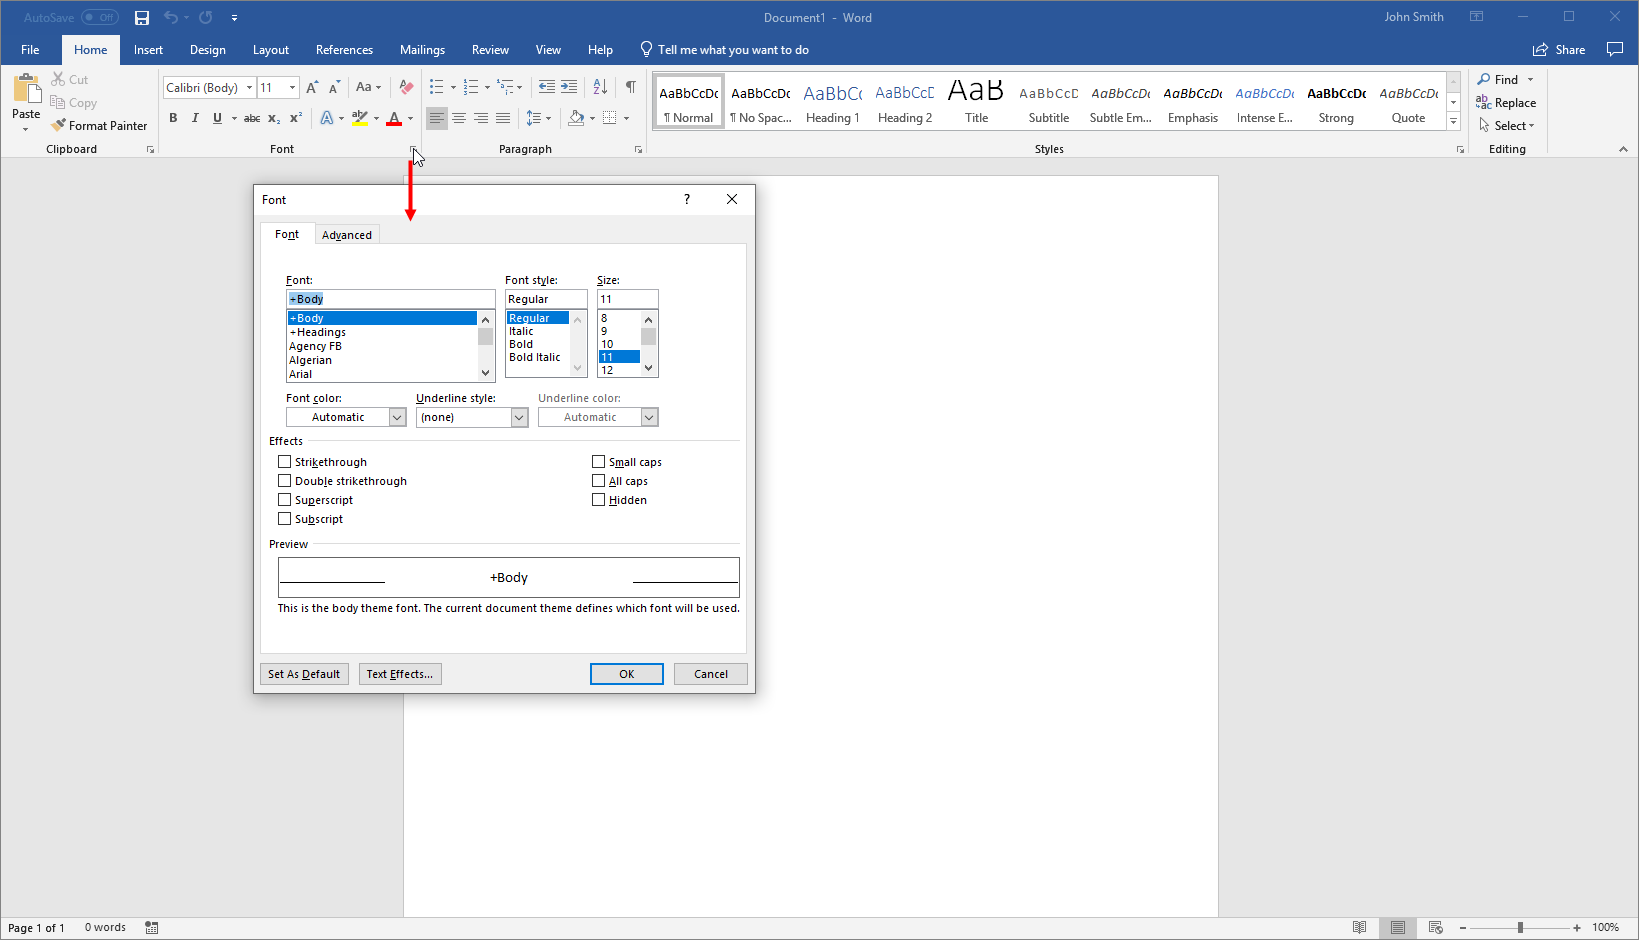
Dialog Box Launchers
Some groups feature an option button ( ) beside the group name. Click this button to open a dialog box or task pane with more specific controls relating to this group and other commands in the tab:
ScreenTips
You can hover your mouse pointer over a command to see the command name. Many commands also include a short description and sometimes a keyboard shortcut. This pop-up is called a ScreenTip:

The Backstage View
The File tab opens a special screen called Backstage view:
Here is a quick overview of each item on the far left-hand side:
| Info | Shows information about the actual document as an entity (called metadata). Click the commands to show lists of sub-commands, or use the pane on the right to modify file properties. |
| New | Create a new document from a template. |
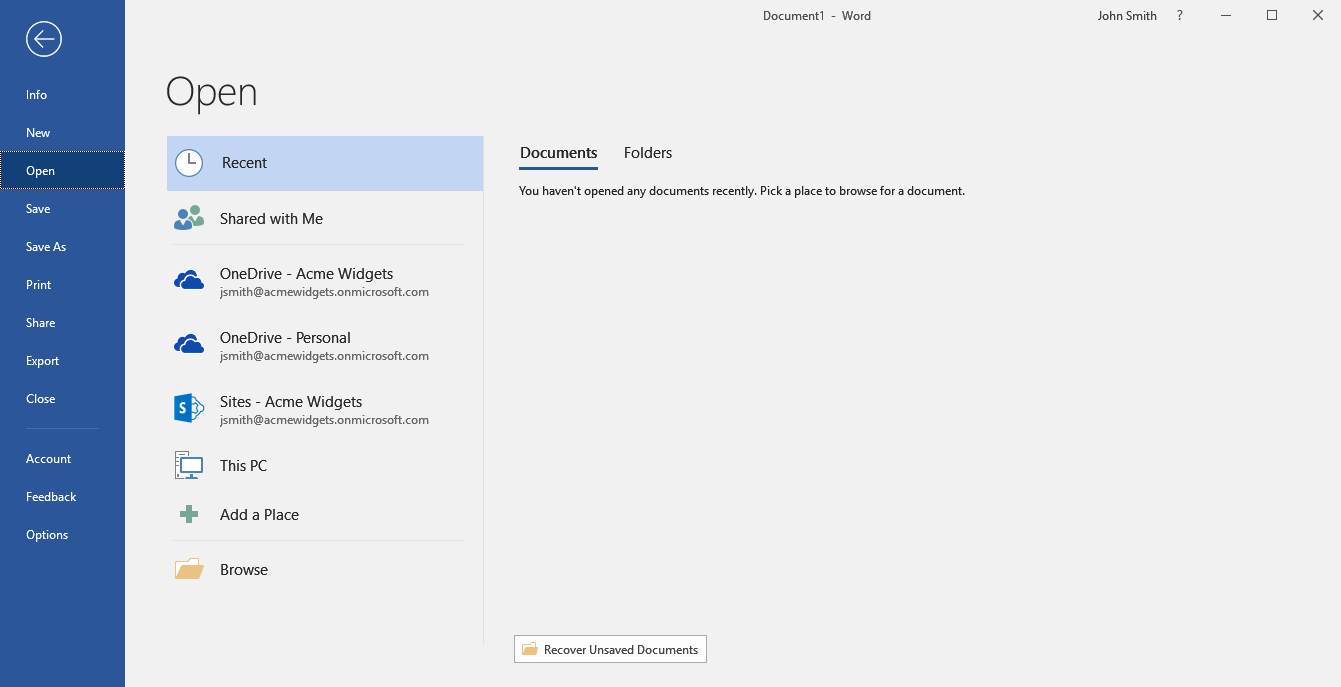
| Open | Open a document from your OneDrive account, your computer, or any other location to which you have access. |
| Save | Update the current file with any changes made since it was last saved. If the file has not been saved, clicking this command will switch you to the Save As category. |
| Save As | Save the document to your OneDrive account, your computer, or any other location to which you have access. |
| Preview and browse your document as it would look if it were printed (called print preview); select which pages to print; and change page formatting such as paper size, margins, etc. | |
| Share | Share this document to the cloud or send it to others via e-mail. |
| Export | Save the document as a PDF or XPS file, or choose a different file type. |
| Close | Close the current document. |
| Account | Modify your Microsoft account. |
| Feedback | Opens the Windows Feedback tool. |
| Options | Opens the Word Options dialog box. |
To close Backstage view, click the back arrow at the top of the menu:

Task Panes
Some of Microsoft Word’s commands are also displayed using task panes. For example, if you click the option button in the Clipboard group on the Home tab, you will see the appropriate task pane:
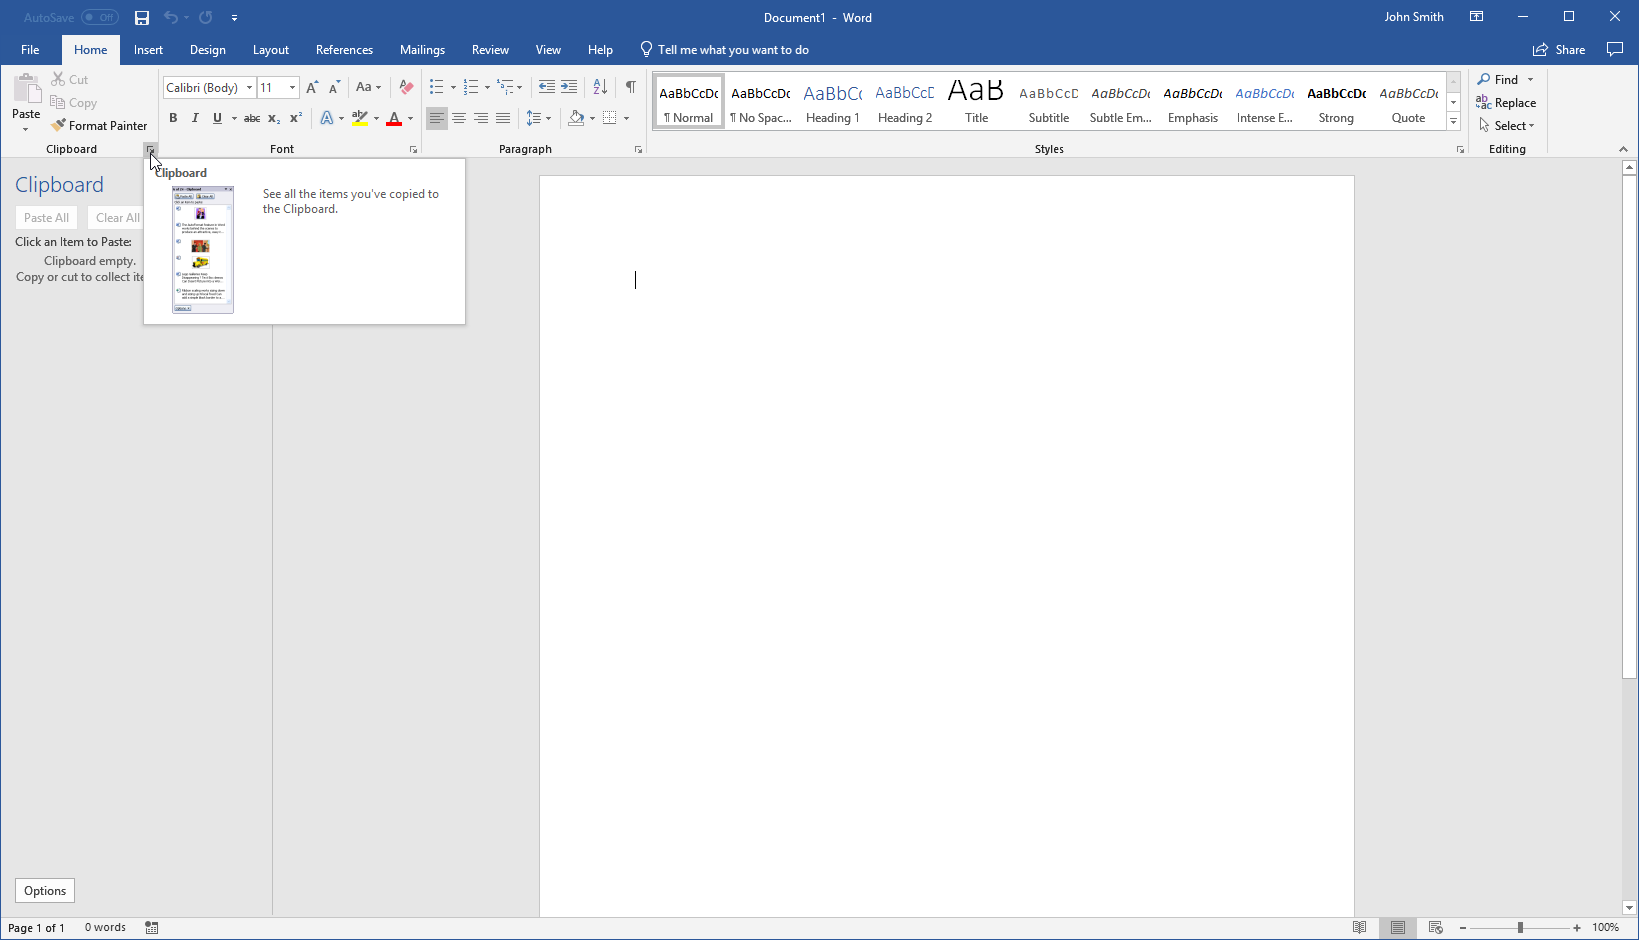
This task pane works much like a dialog box in that it contains additional commands for the option on which you clicked. You can also click and drag the task pane’s title bar to move it around the window:
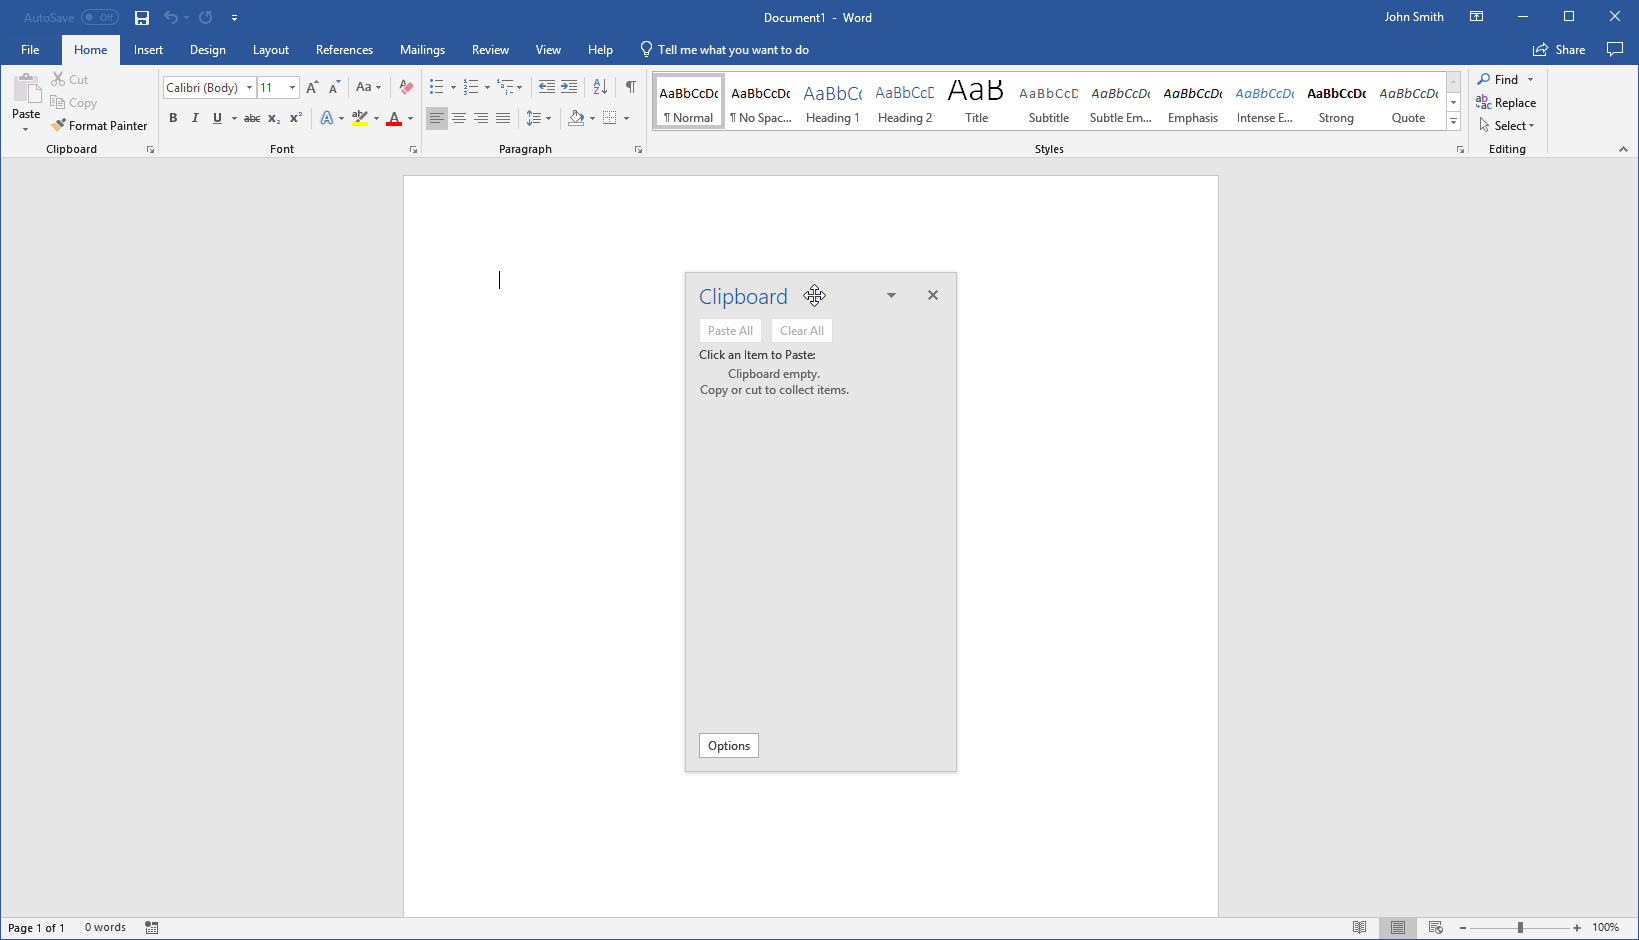
As well, you can use the commands in the task pane’s top right corner to modify its display (drop-down arrow) or close it entirely (X).
Galleries
Many of Microsoft Word’s design options are presented via galleries. For example, on the Home tab you can see a gallery of styles. You can click one of these styles to apply it to selected text:
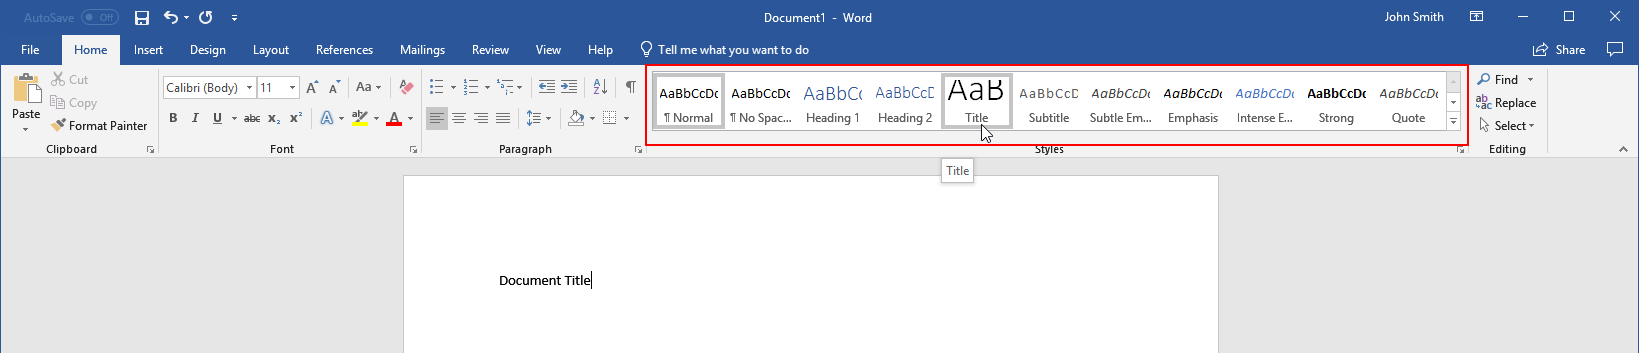
Use the arrows on the right-hand side to scroll through the gallery and see more options. Or, click the More arrow ( ) to see the full gallery:

This is an excerpt from Velsoft’s latest computer course Microsoft Word 365 – Part 1.
Leave a Reply

