

Using Channels in Microsoft Teams
This is an excerpt from Microsoft Teams, the latest computer course released by Velsoft Training Materials. The courseware is intended to help all users get started with Teams, use messages and channels, communicate in different ways, and customize Teams settings.
Using Channels
Each team has access to channels, which are places where people can share messages, files, and more. Let’s take a closer look at this important feature.
Topic Objectives
In this section, you will learn how to:
- Create, view, and use channels
- Mark a channel as a favorite
- Follow and unfollow channels
About Channels
In Microsoft Teams, a channel is a central place where users can talk to each other. By default, a General channel is created for team-wide communications and announcements. Microsoft Teams users can also create their own channels for different topics. All team members will automatically be added to all channels.
Viewing Channels
To view a list of channels in a team, move your mouse over the team and click the chevron to expand it:
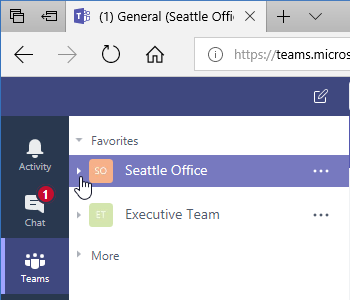
Now, click the channel you want to display:
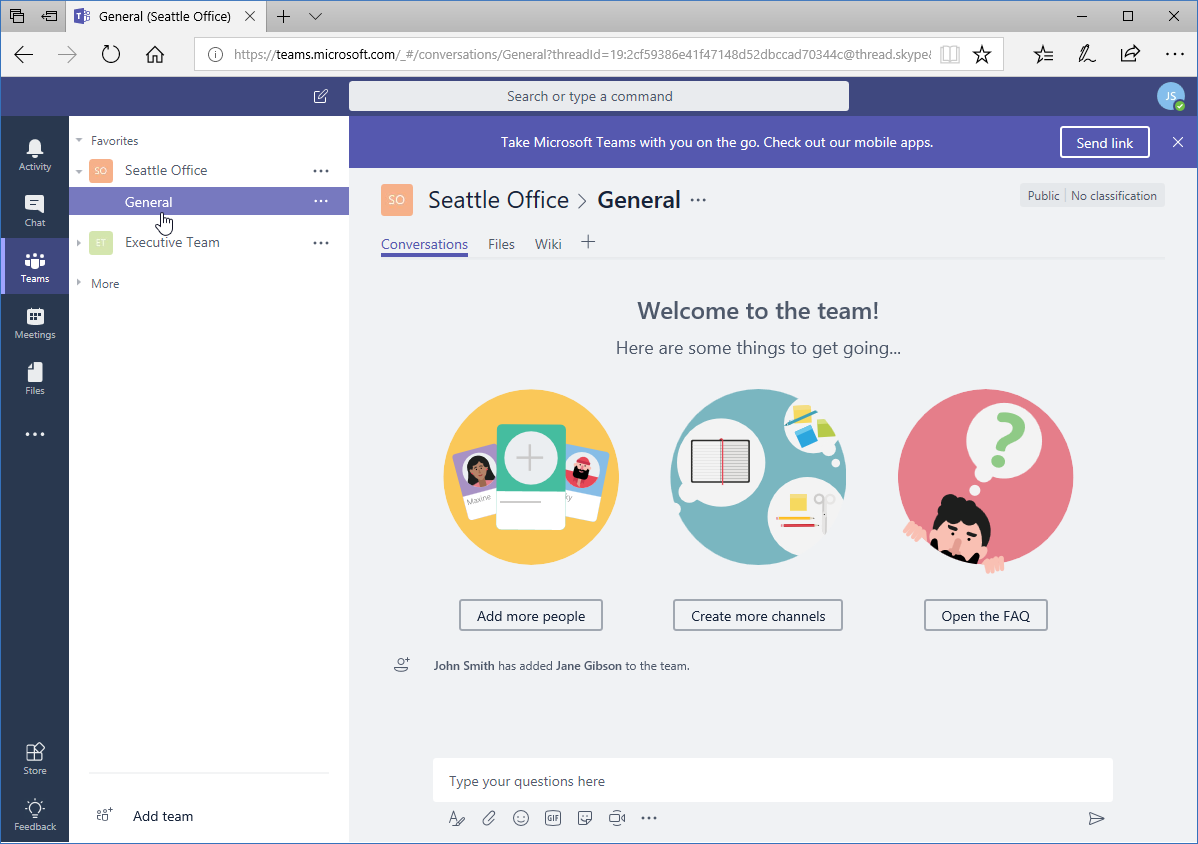
The channel contents will then be displayed in the main window, including messages and activity (like member changes or edits to the name). In the next section, you will learn how to post messages in a channel.
Note the three tabs at the top of the window. These allow you to view different aspects of the channel, and can be customized:
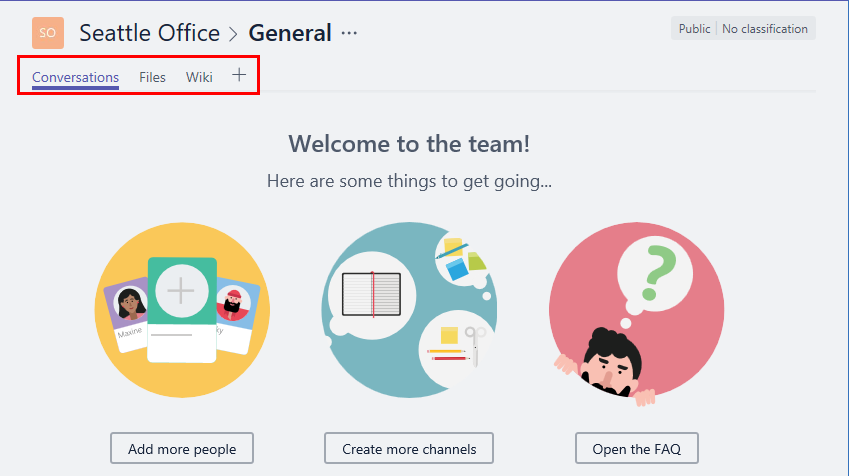
(See Lesson 4 for more information.) Also note the breadcrumb trail at the top of the window:
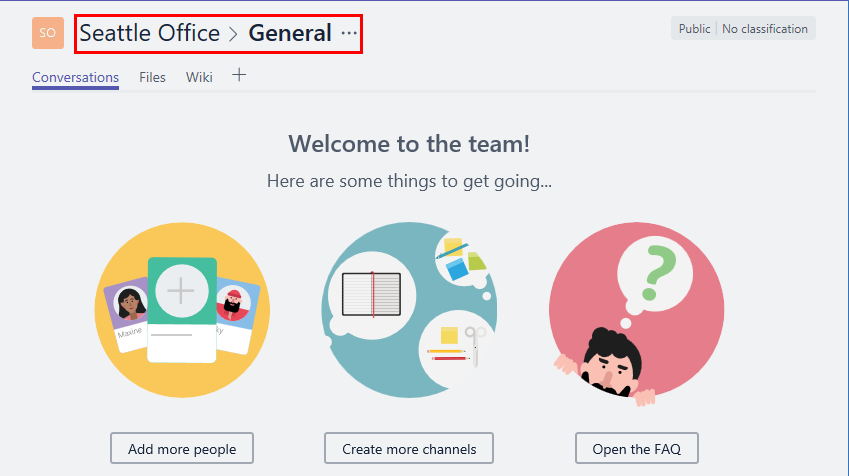
This shows where you are in the team. You can click any item to go to it; for example, you could click “Seattle Office” to view the team settings page. Or, click the ellipses to access channel and team options. (You will learn more about these options later in the course.)
Creating a Channel
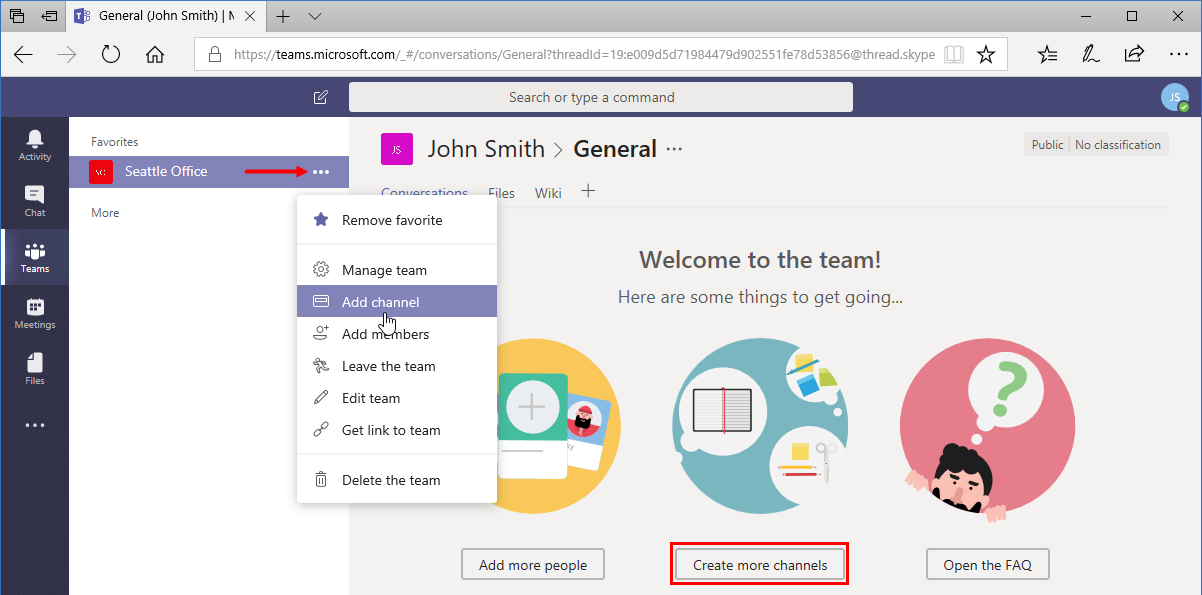
There are two easy ways to create a channel. You can click the ellipses next to the team name and click “Add channel,” or click “Create more channels” at the top of the General channel page:
With either action, you will see the “Create a channel” dialog box:
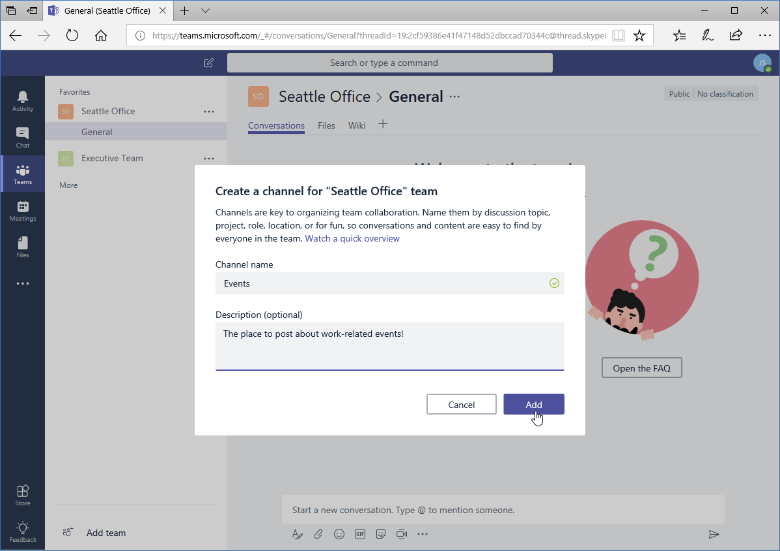
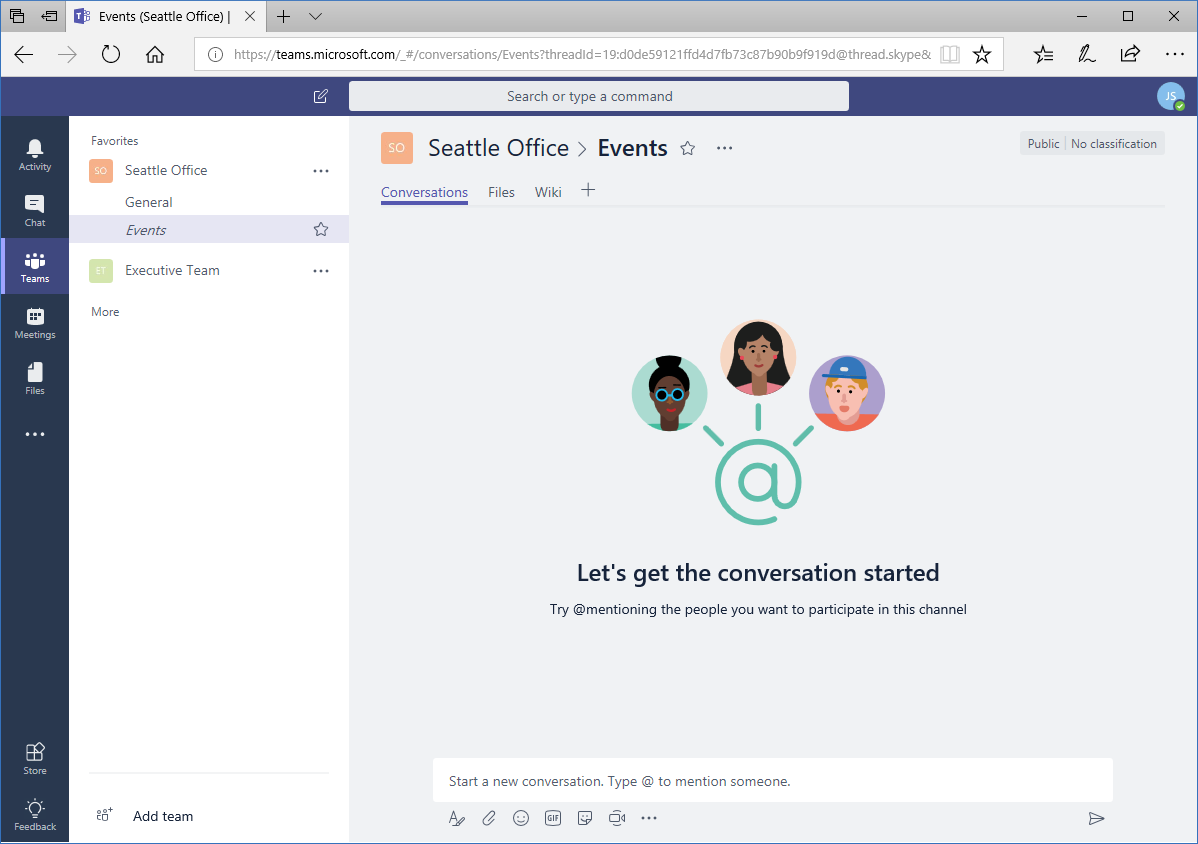
Simply enter the channel name and description, and click Add. The new channel is now created and displayed:
Instructor Tip: It is helpful to establish conventions for creating channels and what convention should be used to name them. For example, channels for specific offices might be indicated with the prefix “locations,” while channels for specific departments could be indicated with the prefix “dept.”
Marking a Channel as a Favorite
You can mark a channel as a favorite, or remove this indicator, by clicking the star icon next to the channel name in either the task pane or the main window:
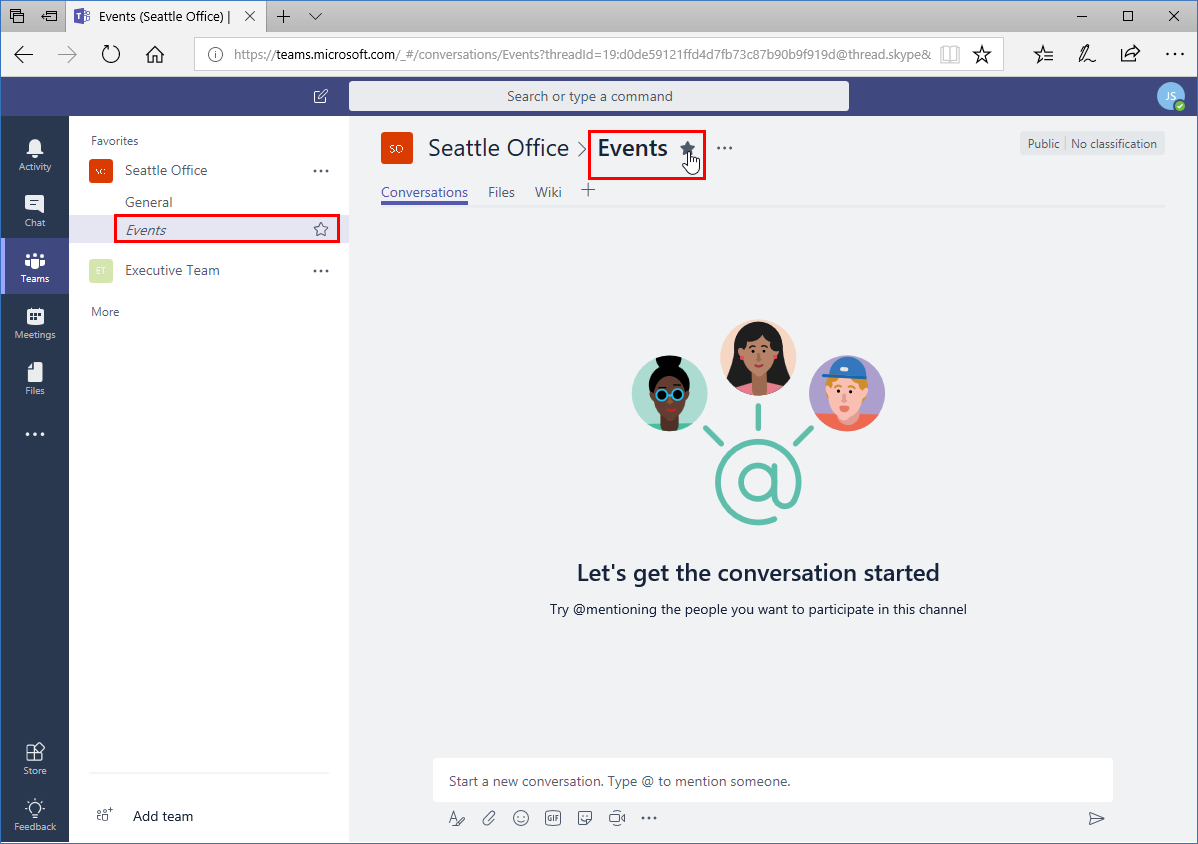
When a channel is not a favorite, it will be placed at the bottom of the list and displayed in italics.
Following and Unfollowing a Channel
You can show notifications for your favorite channels and add their activity to your Activity tab by following them. To do this, open the channel, click the ellipses next to its name, and click “Follow this channel:”

Instructor Tip: You can also click the ellipses next to its name in the task pane.
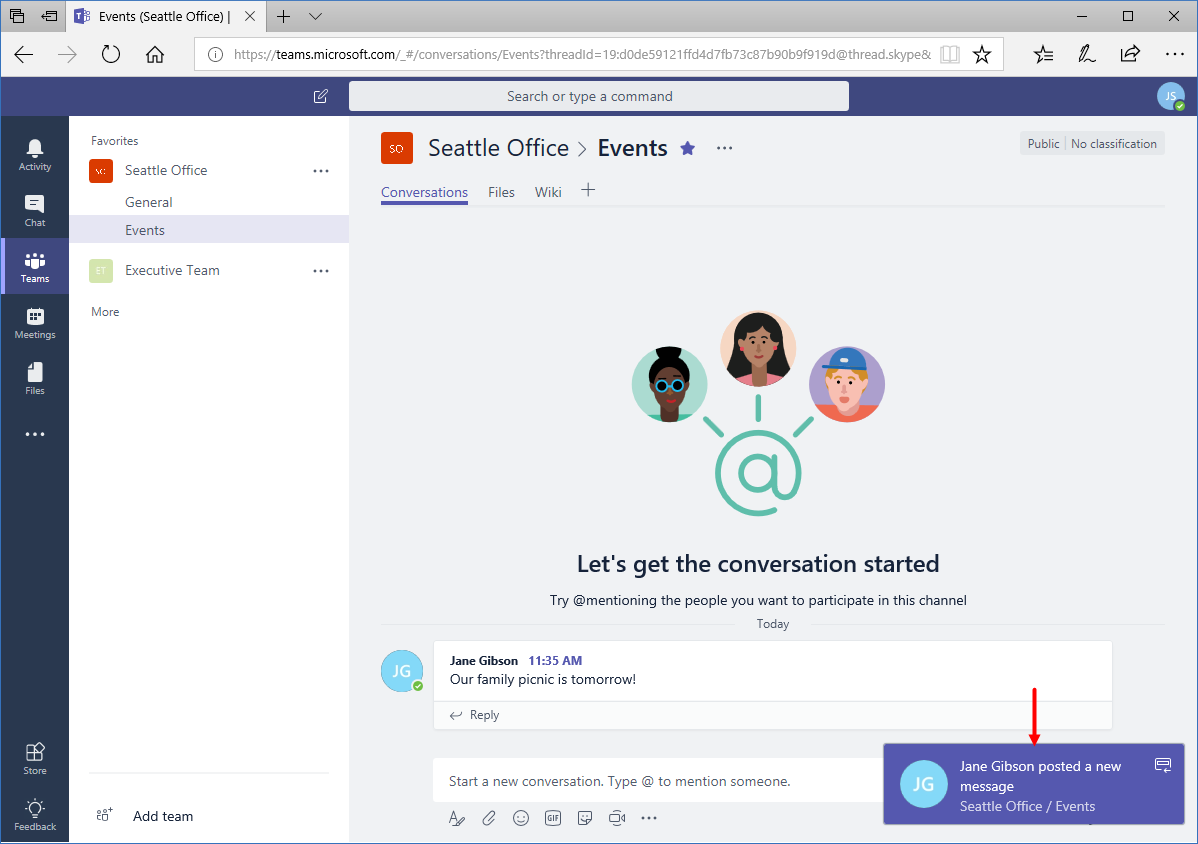
You will now receive a notification when someone posts in this channel, and the activity will be recorded on the Activity tab (which you will learn about later):
To change this behavior, click the ellipses again and click “Unfollow this channel.”
Find out more about Velsoft’s Microsoft Teams course here.
Leave a Reply

